Last Tuesday, I was trying to email a set of vacation photos to my parents. Nothing complicated — just twelve images from a weekend trip to the coast. I selected them, hit attach, and Gmail politely informed me that my attachments exceeded the 25 MB limit. Twelve photos. Twenty-five megabytes wasn't enough. My phone's camera, shooting at its default settings, was producing individual images that were 8 to 12 MB each. A single photo was taking up nearly half of Gmail's entire attachment allowance.
This is a problem that almost everyone runs into eventually. Your image file is too large to email. Too large to upload to a form. Too large for a website. Too large for a social media platform that quietly compresses it into oblivion if you don't do it yourself. The frustrating part is that the file doesn't need to be that large. A 12 MB photo and a 600 KB version of the same photo can look virtually identical to the human eye — the difference is all in data that you can't even see.
In this guide, I'm going to walk through seven concrete methods to reduce image file size, ordered from simplest to most aggressive. For most people, the first two or three methods will be enough. For extreme cases — like getting a high-res photo under 100 KB for an online application form — you might need to combine several approaches.
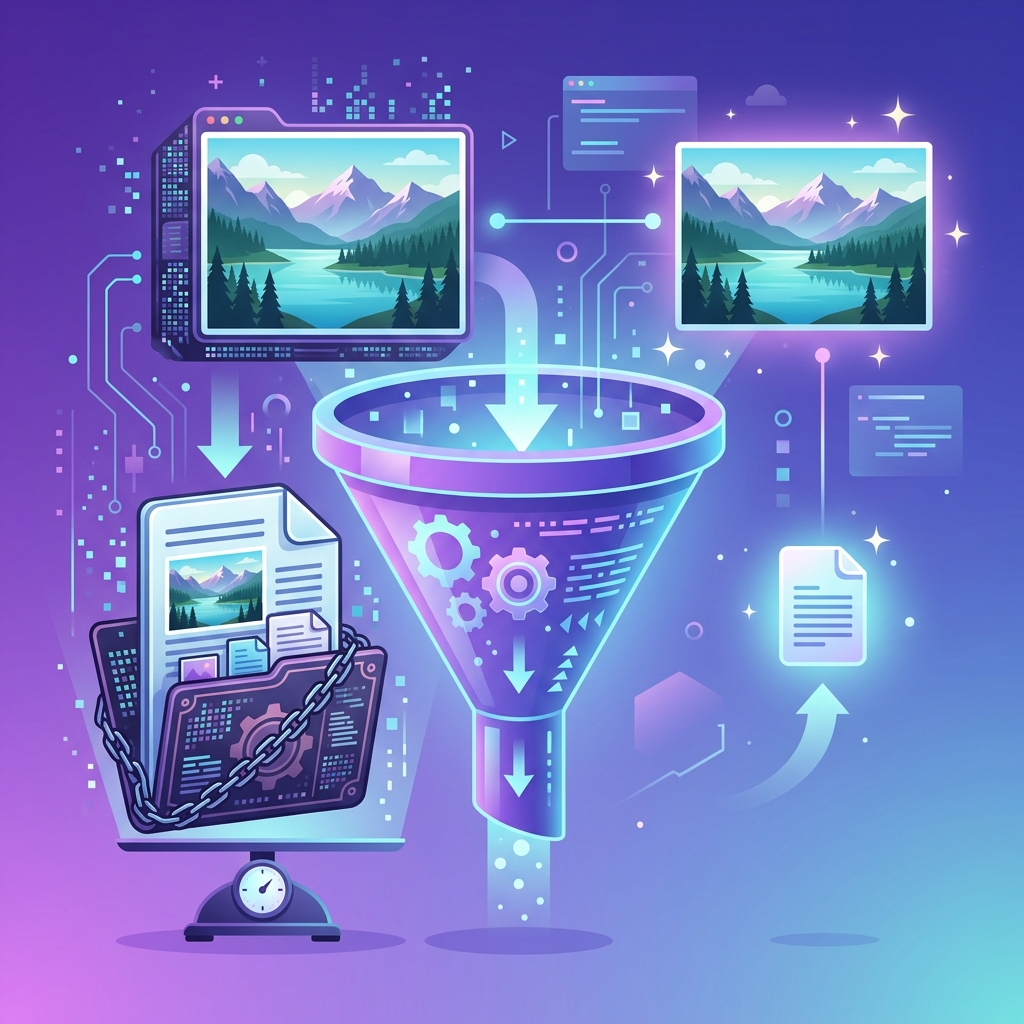
Why Are Modern Photos So Large?
Before we start shrinking files, it helps to understand why they're so big in the first place. Three main factors drive image file size:
- Resolution (pixel dimensions): A 4000×3000 pixel photo contains 12 million pixels. Each pixel stores color data. More pixels = more data = larger files. Modern smartphone cameras shoot at 12 to 108 megapixels, producing enormous raw files.
- Color depth: Most images use 8 bits per color channel (24-bit color), which stores about 16.7 million possible colors per pixel. Some cameras and editing tools produce 16-bit images, which double the color data and the file size.
- Compression level: JPEG is a compressed format, but the compression level varies. Your camera's "high quality" or "superfine" setting uses minimal compression, preserving maximum detail but producing large files. Reducing the quality level increases compression and reduces file size.
There's also metadata — EXIF data embedded in photos that records camera settings, GPS coordinates, timestamps, and sometimes even a thumbnail preview. This data typically adds 10 to 50 KB per image, which is negligible for a single large file but can add up when you're processing hundreds of images.
Method 1: Compress the Image (Easiest, Biggest Impact)
If you only do one thing from this entire guide, do this. Image compression is the single most effective way to reduce file size, and for JPEG images, you can typically cut file size by 60 to 80 percent with zero visible quality loss.
Here's what's actually happening when you compress a JPEG: the algorithm analyzes the image and identifies visual information that the human eye doesn't notice. Tiny color variations between adjacent pixels, subtle noise patterns, imperceptible texture details — all of this gets simplified or discarded. The result is a file that looks identical to the human eye but is a fraction of the original size.
Using our Image Compressor tool, the process is dead simple:
- Upload your image
- Adjust the quality slider — I recommend starting at 80% for photographs
- Watch the file size drop in real-time as you adjust
- Download the compressed version
In my testing, a typical 10 MB smartphone photo compressed to quality 80 produces a file of about 1.5 to 2.5 MB — an 80% reduction — with no visible difference when viewed at normal size on a screen. Even professional photographers struggle to tell the difference in a blind test. Drop the quality to 70 and you'll get under 1 MB, with quality loss only visible if you zoom to 400% and pixel-peep.
The "sweet spot" for JPEG compression is between 70 and 82 percent quality. Below 60, you'll start seeing visible compression artifacts — blocky areas, color banding, and loss of fine detail. Above 90, you're storing invisible data that bloats the file with no perceivable benefit.
Method 2: Resize to Actual Display Dimensions
This one sounds obvious, but I'm constantly amazed by how many people skip it. If you're going to display an image at 800 pixels wide on a website, there is absolutely no reason for the source file to be 4000 pixels wide. All those extra pixels are invisible to the viewer — they're downloaded, decoded, and then thrown away by the browser. You're making people wait for data they'll never see.
Common display sizes and recommended image widths:
- Email attachments: 1200 to 1600 pixels wide is plenty for viewing on any screen
- Website hero images: 1920 pixels wide covers full-width displays
- Blog content images: 800 to 1200 pixels wide
- Social media posts: Varies by platform — usually 1080 to 1200 pixels
- Profile photos: 400 to 800 pixels
- Thumbnail images: 200 to 400 pixels
Use our Image Resizer tool to set exact pixel dimensions. A 4000×3000 photo resized to 1200×900 isn't just visually adequate for web and email use — the file size drops proportionally to the reduction in total pixels. That's roughly a 91% reduction in pixel data before you even apply compression.
Method 3: Convert to a More Efficient Format
Not all image formats are created equal when it comes to file size efficiency. If you're working with PNGs (which use lossless compression) and don't need transparency, converting to JPEG can cut file size by 80 to 90 percent for photographic content. If you're already using JPEG but want even smaller files, consider WebP.
WebP consistently produces files that are 25 to 34 percent smaller than JPEG at equivalent visual quality. For a website serving hundreds or thousands of images, that savings adds up to significantly faster page loads. Our WebP Converter handles the conversion in seconds.
Quick format selection guide:
- Photographs without transparency: JPEG or WebP
- Photographs with transparency: PNG or WebP
- Screenshots and text-heavy images: PNG (lossless preserves text sharpness)
- Simple graphics, logos, icons: SVG (vector) or PNG
- Maximum compression with transparency: WebP
Method 4: Strip Metadata (EXIF Data)
Every photo taken by a smartphone or digital camera contains embedded metadata called EXIF data. This includes the camera model, lens settings, ISO, shutter speed, GPS coordinates, date and time, and sometimes a thumbnail preview image. Individually, this data is small — usually 10 to 50 KB. But there are good reasons to strip it beyond file size:
- Privacy: GPS coordinates in EXIF data reveal exactly where the photo was taken. If you're sharing photos online, this can expose your home address, workplace, or other sensitive locations.
- Consistency: When batch-processing images from multiple sources, stripping metadata ensures consistent file structure.
- Compatibility: Some image processing tools and platforms have issues with certain EXIF tags, particularly orientation data that causes images to display rotated.
Most online image compressors, including ours, strip EXIF data automatically during compression. If you want to specifically remove metadata without recompressing the image, there are dedicated EXIF removal tools available.
Method 5: Crop Unnecessary Areas
Sometimes the reason an image is too large isn't the quality settings or the format — it's that the image contains way more content than you actually need. A wide landscape shot where you only care about the building in the center? Crop it. A full-body portrait when you just need a headshot? Crop it. Every pixel you remove is data you no longer need to store.
Use our Crop Tool to cut away unnecessary areas before compressing. I've seen cases where intelligent cropping alone reduced file size by 50 to 60 percent — before any compression was applied — simply because half the image was irrelevant background.
Method 6: Reduce Color Depth
This is a more advanced technique, but it can produce dramatic file size reductions for certain types of images. Most photos use 24-bit color (16.7 million colors). Many images — especially graphics, charts, illustrations, and screenshots — actually use far fewer distinct colors. Reducing the color palette to 256 colors (8-bit) or even 128 colors can shrink file size significantly while maintaining perfectly acceptable visual quality for non-photographic content.
This technique works best for: screenshots with flat UI colors, diagrams and charts, illustrations with limited color palettes, and memes or text-heavy images. It does not work well for photographs, which need the full color range to look natural.
Method 7: Use Progressive JPEG Encoding
Progressive JPEG doesn't reduce the final file size dramatically (typically 2 to 5 percent), but it changes how the image loads in a browser. Instead of loading from top to bottom (baseline JPEG), a progressive JPEG loads as a blurry full-image preview that gradually sharpens. This creates the perception of faster loading because users see something meaningful almost immediately, rather than watching the image paint downward line by line.
Most modern image compression tools produce progressive JPEGs by default, but it's worth checking your settings if you're optimizing for web performance.
The Ultimate File Size Reduction Workflow
Here's my recommended workflow when you need to get an image as small as possible without destroying quality:
- Crop to remove unnecessary areas
- Resize to the actual display dimensions
- Convert to the optimal format (WebP for web, JPEG for email)
- Compress at 75-82% quality for photographs
- Strip metadata if privacy or size is a concern
Following this workflow, I routinely take 10-15 MB smartphone photos down to 100-300 KB files that look great on screen. That's a 97% reduction. A set of 50 vacation photos that would have been 500 MB drops to under 15 MB — small enough to email, fast enough for a website, and indistinguishable from the originals when viewed at normal size.
The tools exist. They're free. The process takes seconds per image. There's really no excuse for emailing 50 MB photo dumps or tanking your website's load time with unoptimized images. Compress, resize, convert — and move on with your day.
Reduce Image File Size Right Now
Our free Image Compressor reduces file size by up to 80% with zero visible quality loss. No signup, no watermarks, no limits.
Compress Images Free →