My grandmother passed away three years ago, and the only photo I have of her from when she was young is a tiny 2x3 inch print from the late 1960s. When I finally bought a decent scanner and digitized it, the resulting file was about 400 by 600 pixels. On my desktop monitor, it was barely larger than a postage stamp. Every time I tried to zoom in, her face dissolved into a blurry grid of colored squares. It was heartbreaking—like the digital world was telling me I couldn't get any closer to her.
That frustrating experience sent me down a deep rabbit hole of image upscaling technology. I spent weeks testing every tool I could find, and what I discovered completely blew my mind. The AI-powered upscaling tools available in 2026 are not just making pixels bigger. They are effectively performing digital archaeology. They took that tiny 400x600 pixel scan of my grandmother and transformed it into a crisp, stunningly detailed 2400x3600 pixel portrait. I could see the weave of her sweater. I could see the individual strands of her hair. It felt like science fiction.
But AI upscaling isn't magic, and it doesn't work perfectly on everything. In this guide, I'm going to pull back the curtain on how AI image upscaling actually works, when you should (and absolutely shouldn't) use it, the best tools currently on the market, and the exact workflow I use to rescue ruined photos.
The Dark Ages: Why Traditional Upscaling Was Garbage
To understand why AI upscaling is such a breakthrough, you have to understand how we used to do it. Before AI, enlarging an image was essentially a dumb math problem. The software (like older versions of Photoshop) would look at the existing pixels and calculate new ones to fill the gaps. We called this "interpolation," and there were a few common methods:
- Nearest Neighbor: The absolute worst method. The software just duplicates the closest existing pixel. If you want a 2x upscale, it turns every single pixel into a 2x2 block of identical pixels. This creates the classic "Minecraft" blocky look. It's fast, but it's hideous for anything other than pixel art.
- Bilinear Interpolation: A bit smarter. It looks at the four nearest pixels and averages them out to calculate the new pixel. This gets rid of the blocky squares, but it makes the entire image look like it's covered in Vaseline. Everything becomes soft and blurry.
- Bicubic Interpolation: For years, this was the gold standard. It looks at a larger grid of 16 surrounding pixels and uses complex math to guess the gradient. It's smoother than bilinear, but the fundamental flaw remains: you are inventing new pixels by averaging existing ones. You are just creating a highly sophisticated blur.
The cold, hard truth of traditional upscaling is this: you cannot recover detail that doesn't exist. If an eye in your original photo is only 10 pixels wide, no amount of traditional math is going to suddenly reveal eyelashes. The data is gone.
The Breakthrough: How AI Upscaling Works
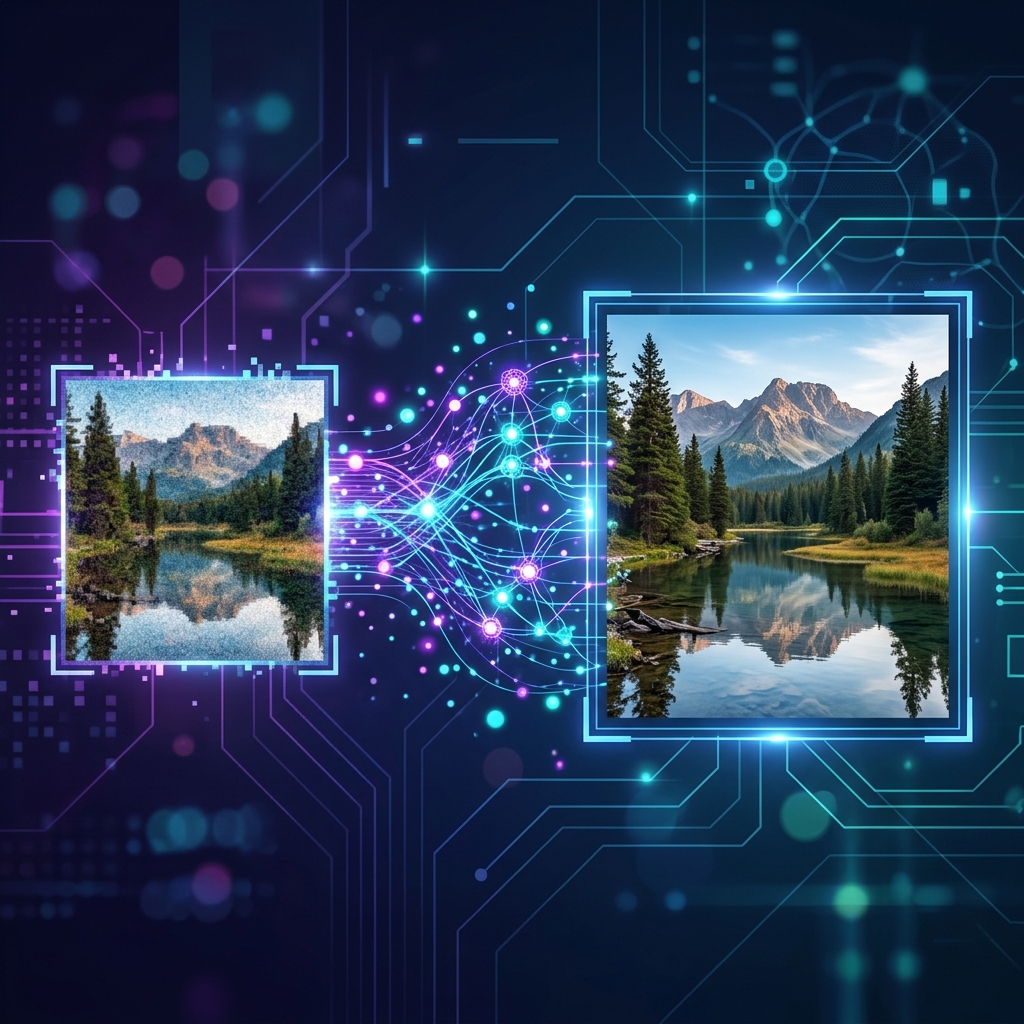
AI upscaling—technically referred to in computer science as "super-resolution"—flips the entire concept upside down. Instead of doing math on the pixels you have, AI models are trained on millions of pairs of images. The engineers feed the AI a massive, high-resolution photo of a face, and then a blurry, downscaled version of that exact same face.
By studying millions of these pairs, the AI essentially learns what high-resolution detail "should" look like. It learns the microscopic texture of human skin, the chaotic geometry of tree bark, the sharp edges of typography, and the way light bounces off a car windshield.
When you upload your low-resolution photo into an AI upscaler, the model analyzes it and recognizes the subjects. If it sees a blurry blob that roughly matches the geometry of a human eye, it doesn't average the pixels. Instead, it dives into its vast neural network and says, "Based on my training, I know what an eye looks like at high resolution." It then generates brand new, hyper-realistic pixels—eyelashes, iris reflections, skin pores—and paints them over your image.
This is the critical distinction you must understand: The AI is not recovering the original detail. That data is permanently lost. The AI is hallucinating highly educated guesses based on its training. In 95% of cases, the hallucinated details look incredibly realistic. But they are, fundamentally, a reconstruction.
The Heavy Hitters: The Best AI Upscaling Models in 2026
The landscape of upscaling tools is flooded right now, but underneath the hood, most of them are running on a few core models. Here are the ones that actually matter:
Real-ESRGAN
If you use a free upscaling tool online, there is a 90% chance it is running some variant of Real-ESRGAN. Developed initially by researchers at Tencent and released open-source, this model is an absolute powerhouse for photographic content. It handles 2x and 4x upscales beautifully, managing to sharpen edges while hallucinating believable textures for things like hair and fabric. It's the workhorse of the modern internet.
Diffusion-Based Upscalers
With the rise of image generators like Midjourney and Stable Diffusion, developers realized they could use diffusion models in reverse. Instead of generating an image from a text prompt, they use your low-res image as a base and ask the diffusion model to add detail to it. These models can hallucinate insane amounts of detail—turning a completely smooth, blurry jacket into crisp, woven denim. The downside? They sometimes invent things that completely change the context of the photo (like turning a blurry nametag into readable, but completely wrong, text).
Topaz Gigapixel AI
For professional photographers and digital artists, this remains the gold standard desktop application. It isn't free, but it gives you incredibly granular control over the upscaling process. You can specifically tell the AI whether the image contains architecture, faces, or low-res CGI, and it adjusts its hallucination algorithms accordingly. It also features the best face-recovery AI on the market.
My Practical Playbook: When to Upscale (And How Much)
After running hundreds of images through these tools, I've developed a strict set of rules for getting the best results. AI is powerful, but pushing it too far ruins the illusion.
The 2x Upscale: The Safe Bet
Doubling the resolution (e.g., turning a 1000px wide image into a 2000px wide image) is almost always flawless with modern AI. The AI has enough baseline data that it doesn't need to invent too much. I do this constantly for web graphics and social media posts to ensure they look perfectly crisp on Retina and 4K displays.
The 4x Upscale: The Danger Zone
Quadrupling the resolution is where things get interesting. A 500px image becoming 2000px means the AI is generating 75% of the final image from thin air. For faces, clean architecture, and simple objects, it usually works brilliantly. But for highly complex, chaotic textures—like a dense forest canopy or a crowd of people in the background—the AI often gets confused. You'll start seeing weird, swirling, painterly artifacts where the AI couldn't figure out what the texture was supposed to be.
8x and Beyond: Don't Do It
Unless you are upscaling very simple vector art or cartoon illustrations, pushing an AI to 8x resolution is asking for trouble. The resulting image will look like a surrealist oil painting. If you absolutely must reach that size, upscale to 4x, save the file, and then run that new file through a 2x upscale. The two-pass method usually yields much better results.
The Step-by-Step Workflow for Perfect Upscaling
Don't just drag your photo into an upscaler and hope for the best. Follow this workflow:
- Find the absolute best source file. If you downloaded a photo from Facebook, it's highly compressed. Try to find the original file on your hard drive. If you are scanning a print, scan it at 600 DPI minimum. Give the AI the best possible foundation.
- Pre-clean the image. This is the secret step everyone skips. If your low-res image has heavy JPEG compression artifacts (those ugly blocky halos around edges) or film grain, the AI upscaler will often mistake that noise for texture and upscale it! You'll end up with massive, high-definition compression blocks. Run your image through a denoiser or a mild compressor first to smooth it out before feeding it to the upscaler.
- Dial in the face recovery. If your photo has people in it, look for a tool that offers a specific "Face Recovery" toggle (like GFPGAN or CodeFormer). General upscalers often mess up eyes and teeth at low resolutions. Dedicated face recovery models map a 3D structure onto the blurry face and rebuild it perfectly.
- Post-process the result. AI upscalers tend to leave images looking a tiny bit "plastic" or overly smooth. I always take the upscaled image into Photoshop (or our online editor) and add a very slight layer of artificial film grain (noise). This breaks up the plastic look and tricks the human eye into perceiving the photo as authentic and sharp.
The Ethical Elephant in the Room
I have to touch on this because it keeps coming up in my professional work. Since AI upscaling literally invents new detail that wasn't captured by the original camera, is the resulting photo still "real"?
If you are restoring a picture of your grandmother for your living room wall, nobody cares. The emotional resonance is what matters. But if you are a photojournalist, a forensic analyst, or an archivist, AI upscaling is highly controversial. You cannot use an AI-upscaled image as legal evidence because the AI might have hallucinated a detail (like a license plate number) that wasn't actually there.
My rule is simple: for personal use, e-commerce, web design, and creative projects, upscale freely. But for journalism and historical archiving, stick to the blurry original. Always keep the unmodified source file backed up, just in case.
We are living in an incredible era of digital photography. The ability to pull crisp, beautiful detail out of low-resolution garbage is a superpower that used to exist only in CSI television shows. Stop throwing away those tiny, pixelated photos—run them through an AI upscaler and see what you've been missing.
Pre-Clean Your Images Before Upscaling
Remember the golden rule: clean images upscale better. Use our Image Compressor to smooth out JPEG artifacts before you upscale, ensuring crisp, artifact-free results.
Compress Images Free →