I still remember the first time I tried to put a logo on a flyer. It was for a friend's bakery — nothing fancy, just a little cupcake graphic she'd drawn and scanned. I dropped it onto the design and there it was: a giant white rectangle sitting on top of a pastel pink background, completely ruining the layout. The image wasn't transparent. The background of the logo was baked right into the file, and no amount of wishful thinking was going to make it disappear.
If you've ever dealt with that white-box-around-your-logo problem, or tried to layer one image on top of another and ended up with ugly opaque edges, you already know the frustration. The solution is image transparency — specifically, working with file formats that support it, like PNG. And the good news is that making an image transparent is genuinely one of the simplest image editing tasks out there, even if you've never opened an editing tool in your life.
This guide is going to cover everything: what transparency actually means at a technical level, which file formats support it and which don't, how to make any image transparent using free online tools, and practical use cases where transparency matters. By the end, you'll be handling transparent images like a pro.
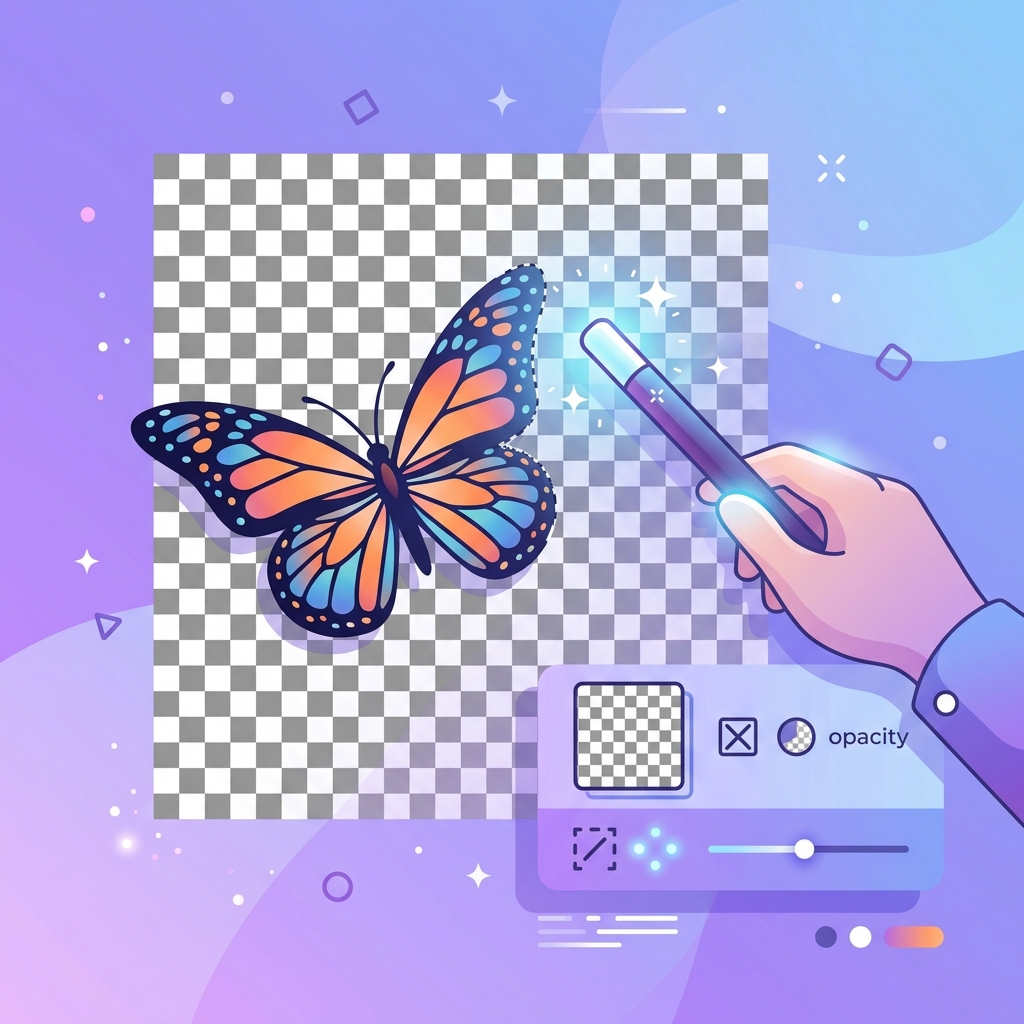
What Does "Image Transparency" Actually Mean?
When we talk about making an image "transparent," we're talking about removing or hiding certain pixels so that whatever is behind the image shows through. Think of it like a window. A regular JPEG image is like a wall — every pixel is opaque, fully solid. A transparent PNG is like a window — some pixels are fully visible, some are completely invisible, and some can be partially see-through.
At a technical level, this is controlled by something called the alpha channel. Most image formats store three color channels: red, green, and blue (RGB). The alpha channel is a fourth channel that stores transparency information for each pixel. A pixel with an alpha value of 255 is fully opaque. A pixel with an alpha value of 0 is completely invisible. Values in between create semi-transparency — that's how you get smooth edges, soft shadows, and gradient fade effects.
Not every image format supports the alpha channel. This is a critical distinction that trips people up constantly, so let me lay it out clearly.
Which Image Formats Support Transparency?
Formats That Support Transparency
- PNG (Portable Network Graphics): The gold standard for transparent images on the web. PNG supports full alpha channel transparency, meaning you can have fully transparent, fully opaque, and semi-transparent pixels. This is why designers use PNG for logos, icons, overlays, and any graphic that needs to sit on different backgrounds without a visible border.
- WebP: Google's modern image format supports both lossy and lossless compression with full alpha channel transparency. WebP files are typically 25 to 35 percent smaller than equivalent PNGs, making them ideal for websites where both transparency and file size matter.
- GIF: GIF supports a primitive form of transparency — it can mark one specific color in the palette as transparent. But it's binary: a pixel is either fully visible or fully invisible, with no semi-transparency. This leads to jagged edges around complex shapes, which is why GIF transparency looks rough compared to PNG.
- AVIF: The newest format on this list, AVIF supports alpha channel transparency with excellent compression. Browser support has been expanding rapidly, and AVIF is becoming a strong contender for transparent images on the web.
- TIFF: Supports transparency but files are enormous. Used primarily in professional print workflows, not on the web.
Formats That Do NOT Support Transparency
- JPEG / JPG: The most common image format on the internet does not support transparency at all. Period. If you save a transparent image as JPEG, the transparent areas will be filled with a solid color — usually white or black. This is the single most common mistake people make when working with transparent images.
- BMP: No transparency support in standard implementations.
The number one rule of working with transparent images: never save as JPEG. The moment you export to JPG, your transparency is gone forever, replaced by a solid background color.
How to Make an Image Transparent: Step-by-Step
There are several approaches depending on what exactly you're trying to achieve. Let me walk through the most common scenarios.
Scenario 1: Remove the Background Entirely
This is what most people mean when they say they want to "make an image transparent." They have a photo of a product, a headshot, or a logo, and they want to remove the background entirely so the subject appears on a transparent (checkered) background.
The fastest way to do this in 2026 is with an AI-powered background remover. These tools analyze your image, identify the subject, and automatically remove everything else. The technology has gotten remarkably good — even hair, fur, and semi-transparent objects like glass or veils are handled with impressive accuracy.
Here's how to do it using our Background Remover tool:
- Upload your image (any format — JPEG, PNG, WebP, whatever you have)
- The AI automatically detects the subject and removes the background
- Preview the result on the checkered transparency grid
- Download as PNG to preserve the transparency
The entire process takes under five seconds for most images. I've used this workflow for everything from product photography for e-commerce stores to creating sticker designs for print-on-demand shops. The key is always downloading as PNG — if you download as JPEG, you'll lose the transparency you just created.
Scenario 2: Make a Specific Color Transparent
Sometimes you don't need to remove the entire background — you just need to make one specific color transparent. This is common when working with logos that have a solid white or colored background, screenshots with uniform backgrounds, or simple graphics where the background is a single flat color.
Most image editors (including free online tools) have a "color to alpha" or "magic wand" feature that lets you click on a color to make it transparent. The tool identifies all pixels matching that color (with an adjustable tolerance for slight color variations) and sets their alpha channel to zero.
A word of caution with this approach: if your subject contains the same color as the background you're trying to remove, those areas will become transparent too. A white logo on a white background? That's going to be a problem. In those cases, the AI-based background remover is the smarter choice because it understands the difference between subject and background regardless of color.
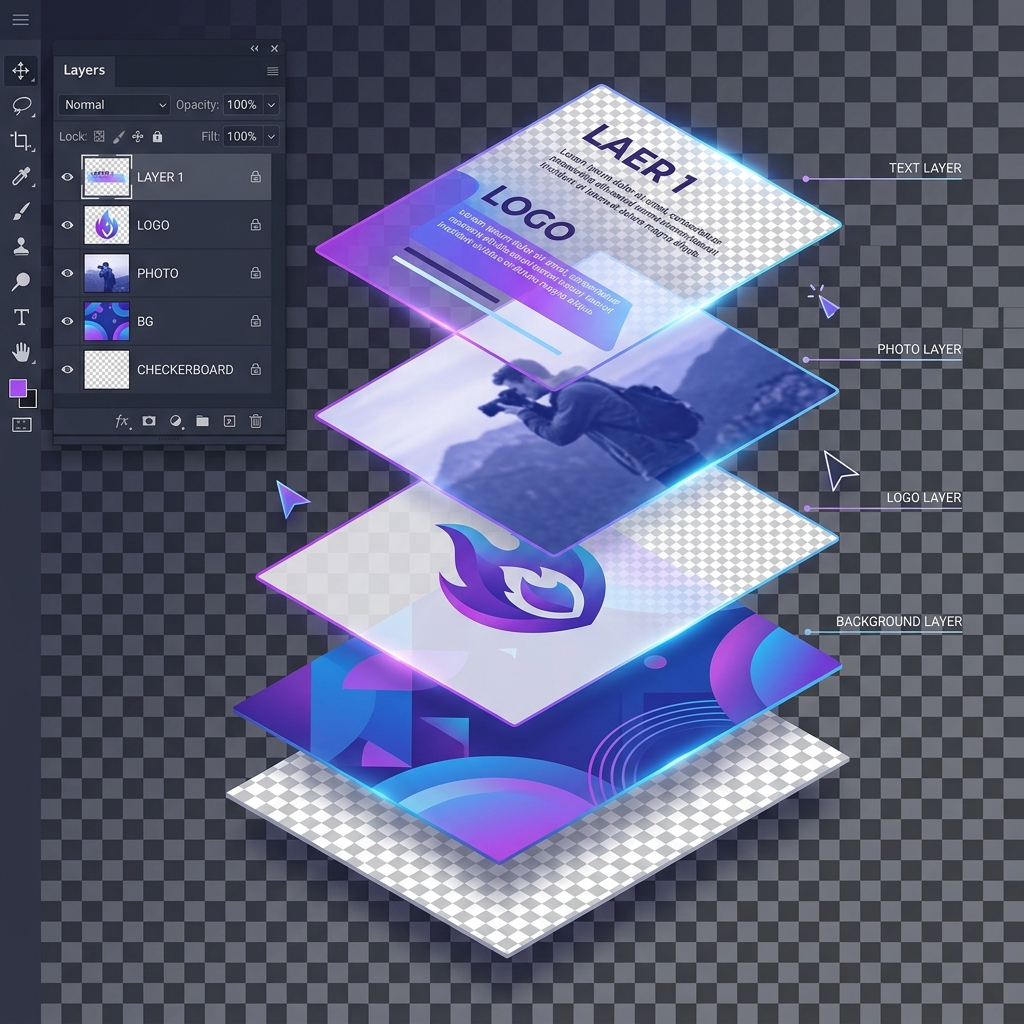
Scenario 3: Adjust Overall Image Opacity
This is different from removing a background. Here, you're making the entire image partially see-through — like turning a photo into a watermark or creating a subtle background texture. The whole image becomes ghost-like, with the background showing through every pixel equally.
In CSS on a website, you can achieve this with the opacity property (e.g., opacity: 0.5 for 50% transparency). But if you need the image file itself to be semi-transparent (for use in presentations, video editing, or print design), you'll need to edit the alpha channel of the entire image in an editor and save as PNG.
Common Mistakes People Make with Transparent Images
After years of helping people with image editing, I've seen the same mistakes come up over and over. Here are the big ones:
- Saving as JPEG: I've said it three times now, and I'll say it again. JPEG does not support transparency. If you spend twenty minutes carefully removing a background and then save as .jpg, you'll get a white background instead of transparency. Always save as PNG or WebP.
- Not checking on different backgrounds: An image might look perfectly transparent on a white background but have visible fringing (thin white or colored edges) when placed on a dark background. Always preview your transparent image on multiple background colors before considering it finished.
- Ignoring file size: Transparent PNGs can be surprisingly large, especially for high-resolution images. A 4000×3000 pixel photo saved as PNG with transparency can easily be 15 to 25 MB. If you're using it on a website, consider using WebP format instead, or resize the image to the actual display dimensions before saving.
- Using GIF for complex transparency: GIF's binary transparency (fully visible or fully invisible, nothing in between) creates jagged, aliased edges around curved shapes. If your image has soft edges, shadows, or any gradual transitions, use PNG instead of GIF.
- Forgetting anti-aliasing artifacts: When you remove a background, the edge pixels of your subject often contain a blend of the subject color and the original background color. These "fringe" pixels can create a visible halo effect when you place the transparent image on a different background. Good background removal tools handle this automatically, but cheaper tools often leave these artifacts behind.
Practical Use Cases for Transparent Images
Transparency isn't just a nice-to-have — it's essential for a surprisingly wide range of tasks:
- Logos: Every professional logo should exist as a transparent PNG. Period. You'll need to place it on websites, letterheads, invoices, social media graphics, merchandise, and countless other surfaces with different background colors. A logo with a baked-in white background screams "amateur."
- Product Photography: E-commerce platforms like Amazon, eBay, and Shopify often require or strongly prefer product images on transparent or white backgrounds. Removing the background and saving as transparent PNG gives you maximum flexibility.
- Social Media Graphics: When creating layered designs for Instagram stories, YouTube thumbnails, or Facebook posts, transparent elements let you compose complex layouts without visible seams.
- Web Design: Icons, illustrations, decorative elements, and UI components almost always need to be transparent so they integrate seamlessly with different page backgrounds and themes — especially if your site supports dark mode.
- Presentations: Placing a photo with a transparent background on a slide looks infinitely more polished than a rectangular photo with a white box around it.
- Watermarks: A semi-transparent logo overlaid on a photo protects your work while keeping the underlying image visible. This requires alpha channel control, which only PNG and WebP provide.
Optimizing Transparent Images for the Web
Transparent PNGs are typically larger than their JPEG equivalents because PNG uses lossless compression and stores the alpha channel data. For a website, this means slower load times if you're not careful. Here's what I do to keep things fast:
First, I resize the image to the exact dimensions it'll be displayed at. There's no point serving a 3000-pixel-wide transparent PNG if it's only going to be displayed at 400 pixels wide. Use our Image Resizer tool to get the dimensions right before saving.
Second, I use our Image Compressor to squeeze the file size down. PNG compression is lossless, so the quality is identical — but optimized PNGs can be 30 to 50 percent smaller than unoptimized ones.
Third, I consider converting to WebP. WebP supports full transparency and is dramatically smaller than PNG. If your target audience is on modern browsers — and in 2026, that's basically everyone — WebP is the better choice for transparent web images. Use our WebP Converter to make the switch.
The combination of right-sizing, compression, and format conversion can reduce a 15 MB transparent PNG to under 500 KB with zero visible quality loss. On a page with ten transparent images, that's the difference between a two-second load and a fifteen-second load.
Quick Reference: Transparency Cheat Sheet
- Need to remove a background? Use an AI background remover → save as PNG
- Need to make a color transparent? Use "color to alpha" → save as PNG
- Need semi-transparency for watermarks? Adjust alpha channel → save as PNG
- Need transparent images for a website? Convert to WebP for smaller file sizes
- Never save transparent images as JPEG — the transparency will be destroyed
- Always preview on multiple background colors to catch fringing artifacts
Transparency is one of those things that seems intimidating until you actually try it. Once you understand that it's just about choosing the right format and using the right tools, it becomes second nature. The whole process — removing a background, checking the edges, saving as PNG — takes less than a minute for most images. And the difference between a professional-looking design with transparent elements and an amateur layout with white rectangles everywhere is enormous.
If there's one thing I want you to take away from this guide, it's this: start saving your logos, icons, and design elements as transparent PNGs. Right now. Today. Your future self — the one assembling a client presentation at midnight, desperately wishing the logo didn't have a white box around it — will thank you.
Make Any Image Transparent Instantly
Use our free Background Remover to strip backgrounds from photos, logos, and graphics in seconds. Download as transparent PNG — no signup required.
Remove Background Free →