It happens like clockwork every holiday season. Someone in the family group chat shares a batch of Christmas photos taken on their iPhone, and then the complaints start rolling in: "I can't open these files." "What's a .heic file?" "My Windows computer won't show these." "Why can't Apple just use normal photo formats?"
If you've ever been on either side of this conversation, you're not alone. HEIC is one of those technical decisions that Apple made for genuinely good reasons — it saves storage space and preserves quality — but that creates headaches for anyone who needs to share photos outside the Apple ecosystem. The good news is that converting HEIC to JPG is fast, free, and easy once you know what you're doing. The even better news is that you can set your iPhone to stop creating HEIC files in the first place, if you prefer.
This guide covers everything: what HEIC actually is, why Apple chose it, how to convert existing HEIC files to universally compatible JPGs, and how to change your iPhone settings so you never have to deal with HEIC conversion again.
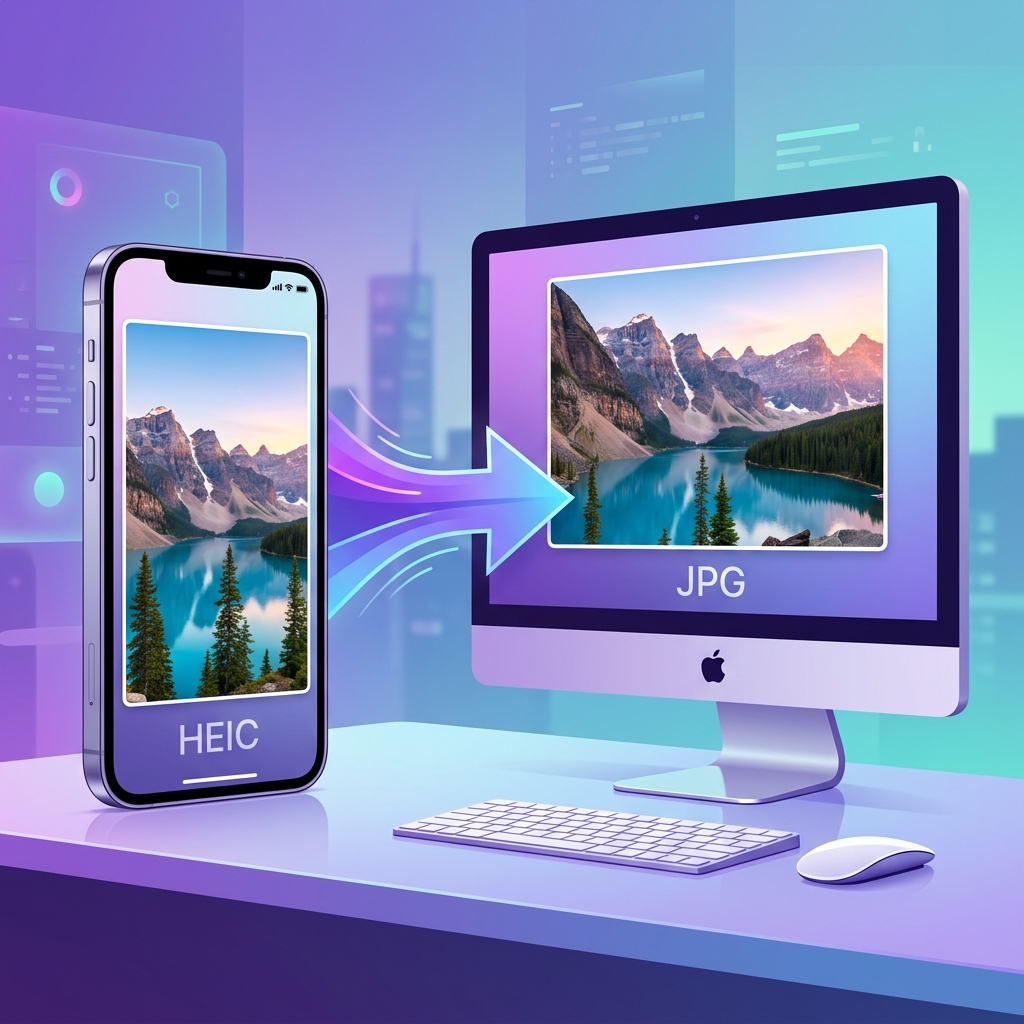
What Is HEIC and Why Does Apple Use It?
HEIC stands for High Efficiency Image Container. It's based on the HEIF (High Efficiency Image Format) standard, which was developed by the Moving Picture Experts Group (MPEG) — the same organization that created the MP3 and MP4 formats. Apple adopted HEIC as the default photo format starting with iOS 11 in 2017, and it's been the default on every iPhone since.
The reason Apple chose HEIC is straightforward: it produces files that are about 50 percent smaller than equivalent-quality JPEGs. That's a massive difference when you consider that the average iPhone user takes about 1,200 photos per year, and modern iPhone cameras shoot at 12 to 48 megapixels. Using HEIC instead of JPEG effectively doubles the number of photos you can store on your device before running out of space.
But the benefits go beyond file size. HEIC also supports:
- 16-bit color depth (vs. JPEG's 8-bit), which preserves more subtle color gradations and makes editing more flexible
- Transparency (like PNG), which JPEG cannot do
- Multiple images in one file — this is how Apple's Live Photos work, storing both the still image and the motion data in a single .heic file
- Non-destructive edits — the original image data is preserved even after you crop, rotate, or apply filters in the Photos app
- Depth maps for portrait mode photos
So HEIC is genuinely superior to JPEG in almost every technical dimension. The only problem? Compatibility. And unfortunately, that "only" problem is a huge one.
The Compatibility Problem
Here's who can and can't open HEIC files natively:
Platforms That Support HEIC
- iOS and macOS (obviously — it's Apple's default format)
- Windows 10 and 11 (but only after installing the free HEIF Image Extension from the Microsoft Store, and sometimes requiring a paid HEVC Video Extensions codec for certain HEIC variants)
- Android 9 and later (but support is inconsistent across manufacturers and apps)
- Google Photos (converts automatically when you upload)
- Adobe Photoshop, Lightroom, and other professional editing tools
Platforms That Do NOT Reliably Support HEIC
- Most web browsers (you can't directly view .heic files in Chrome, Firefox, or Edge)
- Many older applications and image viewers
- Most email clients (can't preview .heic attachments inline)
- WordPress and most CMS platforms (won't accept .heic uploads)
- Most online forms and upload tools
- Older versions of Windows (before the HEIF extension was available)
- Many social media platforms (require conversion before upload, or convert silently with their own compression)
This gap is what makes conversion necessary. In a perfect world, every device and platform would support HEIC. We don't live in that world, and JPEG remains the one image format that works literally everywhere — every browser, every operating system, every application, every device made in the last thirty years.
Method 1: Convert HEIC to JPG Online (Fastest)
The fastest way to convert HEIC files to JPG is using a free online converter. No software installation, no registration, no waiting. You upload your .heic file and download a .jpg version.
Here's how:
- Open our image conversion tools in your browser
- Upload your .heic file (or drag and drop it)
- Select JPG as the output format
- Choose your quality setting (90% preserves excellent quality with good file size)
- Download the converted JPG file
The conversion is instant because HEIC and JPEG are both raster image formats storing pixel data — the tool is essentially re-encoding the pixel data from one compression scheme (HEIF/HEVC) to another (JPEG). There's no complex transformation involved, just a format change.
One important note about quality: HEIC uses more efficient compression than JPEG, so a high-quality HEIC file and a high-quality JPEG file of the same photo will be nearly identical visually, but the JPEG will be larger. If you convert at 90% JPEG quality, the result is essentially indistinguishable from the HEIC original.
Method 2: Change iPhone Settings to Shoot JPG Instead of HEIC
If you're tired of dealing with HEIC conversion altogether, you can tell your iPhone to capture photos as JPEG from the start. Here's how:
- Open Settings on your iPhone
- Scroll down and tap Camera
- Tap Formats
- Select Most Compatible (instead of "High Efficiency")
That's it. From now on, your photos will be saved as standard JPEG files that work everywhere without conversion. The trade-off is that your photos will take up roughly twice as much storage space, which is worth considering if your iPhone is already running low on space.
I personally keep my iPhone set to "High Efficiency" (HEIC) because storage space matters to me, and I only convert individual photos to JPG when I need to share them with someone on a non-Apple device. But if you regularly share photos with Windows or Android users and find the conversion step annoying, switching to "Most Compatible" eliminates the problem entirely.
Method 3: Use AirDrop or Email (Apple Converts Automatically)
Here's something most iPhone users don't know: when you share photos via AirDrop to a non-Apple device, or attach photos to an email through the iOS Mail app, Apple automatically converts them from HEIC to JPEG on the fly. The recipient gets a standard .jpg file without either of you doing anything.
This automatic conversion also happens when you:
- Transfer photos to a Windows PC via USB (if "Automatic" is selected in Settings > Photos > Transfer to Mac or PC)
- Share via most messaging apps (WhatsApp, Telegram, etc.)
- Upload to many cloud services (Google Drive, Dropbox)
However, this automatic conversion doesn't always work. It can fail when transferring files manually via file managers, when accessing iPhone photos over a network share, or when using certain third-party apps that access the camera roll directly. In those cases, you'll need to convert manually using Method 1.
Apple designed iOS to automatically convert HEIC to JPEG during most sharing workflows. The problem is that "most" isn't "all," and the exceptions are frustrating when you encounter them.
Method 4: Batch Convert on Windows
If you have dozens or hundreds of HEIC files to convert, doing them one at a time is tedious. For batch conversion on Windows, you have several options:
- Windows Photos App: Open the HEIC file in the Photos app (after installing the HEIF extension), then use "Save as" to export as JPEG. This works but is slow for large batches.
- Online Batch Converters: Our tools support uploading multiple files at once. Select all your HEIC files, upload them together, and download the converted JPEGs as a batch. This is the fastest option for most people.
- IrfanView (free software): A lightweight image viewer that supports HEIC (with plugins) and has a powerful batch conversion feature. Great for converting hundreds of files at once locally.
HEIC vs. JPG: When Should You Keep HEIC?
Converting to JPG isn't always the right move. There are situations where keeping the HEIC file is better:
- Archival storage: If you're backing up photos for long-term storage, HEIC preserves more quality in a smaller file. Keep the original HEIC files in your archive and only convert to JPG when you need to share.
- Editing flexibility: HEIC's 16-bit color depth gives you more headroom for editing — adjusting exposure, shadows, and colors — without visible quality loss. If you plan to edit a photo extensively, work from the HEIC original.
- Live Photos: Converting a Live Photo's .heic file to .jpg preserves only the still image. The motion component is lost. If you value the Live Photo feature, keep the HEIC.
- Portrait mode depth data: HEIC files from portrait mode contain the depth map that enables the background blur effect. Converting to JPG flattens this data.
My recommendation: keep your HEIC originals in iCloud or a backup drive, and convert to JPG only when you need to share, upload, or use the photos in contexts that don't support HEIC. This gives you the best of both worlds — efficient storage and universal compatibility.
Looking Ahead: Will HEIC Eventually Replace JPG?
Probably not in the way Apple hoped. While HEIC is technically superior, JPEG's universal compatibility is its ultimate strength. Every device on earth supports JPEG. It's been the default photo format for over 30 years. That kind of ubiquity is nearly impossible to displace, regardless of technical merits.
What's more likely is that WebP and AVIF — which are also more efficient than JPEG and have broader industry support than HEIC — will gradually become the new standard for web images. Google, Mozilla, and the broader web standards community are pushing these formats, and browser support is already universal for WebP.
For photos, though, JPEG isn't going anywhere. It'll remain the lingua franca of digital photography for years to come — which means HEIC to JPG conversion will continue to be a necessary skill for every iPhone user who shares photos outside the Apple ecosystem.
Convert Your Images to Any Format
Use our free conversion tools to switch between JPG, PNG, WebP, and more. No installation, no signup — just instant conversion.
Explore Conversion Tools →