My neighbor runs a small landscaping business. Great work, loyal customers, everything growing nicely — except his social media presence, which was roughly a desert. He asked me to take a look at why his Instagram wasn't getting traction. The photos were actually decent — lush green lawns, dramatic before-and-after transformations, beautiful garden designs. The problem was that they looked like personal snapshots, not marketing content. No captions on the images, no branding, no text overlay explaining what the viewer was looking at. Just raw photos with no context.
I showed him how to add clean, professional text overlays to his photos. "Before → After" labels on transformation posts. The business name subtly placed in the corner. Short, punchy captions like "This was a parking lot 6 weeks ago" overlaid on a lush garden shot. His engagement tripled within a month. Not because the photos got better — because the text gave people a reason to stop scrolling and actually process what they were seeing.
Adding text to images is the single fastest way to transform a simple photograph into a marketing asset, social media graphic, presentation visual, or branded content piece. But — and this is a big but — bad text on a good photo makes it worse, not better. Comic Sans on a sunset, unreadable white text on a bright background, twelve lines of copy crammed onto a tiny Instagram square. We've all seen these crimes against design. This guide covers how to add text to images in a way that looks professional, even if you've never taken a design class in your life.
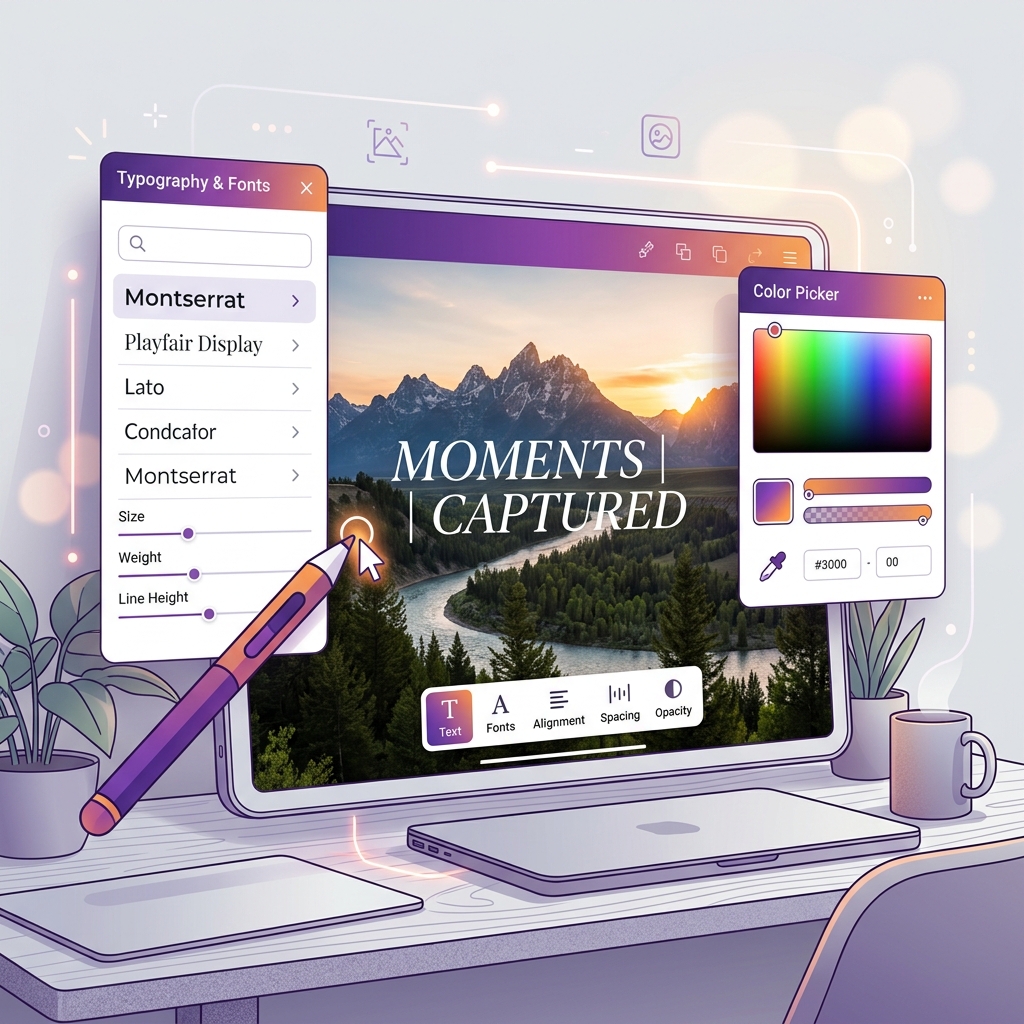
Font Selection: The 90% Rule
Font choice is responsible for roughly 90 percent of whether text on an image looks professional or amateurish. Here's the cheat code: stick to clean, modern sans-serif fonts and you'll almost never go wrong.
Safe Fonts That Always Work
- Montserrat: A versatile, geometric sans-serif that works for both headlines and body text. Its bold weight is excellent for image overlays.
- Inter: Designed specifically for screen readability. Clean, neutral, and professional at any size.
- Poppins: Friendly, rounded, and highly readable. Great for social media and marketing content.
- Bebas Neue: An all-caps display font that creates instant visual impact. Perfect for short headlines and YouTube thumbnails.
- Playfair Display: An elegant serif font for when you need a premium, editorial feel. Works beautifully for fashion, luxury, and lifestyle content.
- Oswald: A condensed sans-serif that fits more text in tight spaces without sacrificing readability.
Fonts to Avoid (Seriously, Never Use These)
- Comic Sans: The most mocked font in existence for a reason. It signals unprofessionalism in virtually every context except children's birthday party invitations.
- Papyrus: Overused, dated, and associated with amateur design since the early 2000s.
- Curlz MT: Unless you're designing for a craft fair booth run by enthusiastic grandmothers.
- Times New Roman: Fine for academic papers, terrible for image overlays. It's a body text serif font, not a display font. It looks like you couldn't be bothered to choose something intentional.
- Multiple decorative fonts in one image: Using three different fancy script fonts on the same image creates visual chaos. One decorative font per image, maximum.
The simplest font rule: use no more than two fonts in a single image. One for the headline (bold, larger), one for supporting text (regular weight, smaller). If you only use one font with different weights (e.g., Montserrat Bold for headlines and Montserrat Regular for body), that's even cleaner.
Making Text Readable on Any Background
The number one problem with text on images is readability. A white text on a bright sky, dark text on a dark jacket, thin text on a busy pattern — the text becomes invisible. Here are the proven techniques for ensuring your text pops on any background:
Technique 1: Dark Overlay
Place a semi-transparent dark layer between the photo and the text. This dims the background just enough to make white or light text readable without completely hiding the image. A 30-50% opacity black overlay works for most images. This is the most common technique used by professional designers and it works on literally any background.
Technique 2: Text Shadow or Stroke
Add a subtle dark shadow behind light text, or a thin dark outline around each letter. This creates enough contrast for the text to read clearly even on varied backgrounds. A 2-3 pixel black shadow with 50% opacity is usually sufficient. For bolder effects, a 2-pixel black stroke outline on white text creates maximum readability.
Technique 3: Text Box
Place the text inside a solid or semi-transparent colored rectangle. This creates a guaranteed high-contrast reading surface regardless of what's happening in the background image. Instagram Stories uses this technique extensively. Match the box color to your brand palette for a cohesive look.
Technique 4: Position Over Simple Areas
The easiest approach: place text over areas of the image that are relatively uniform in color — a clear sky, a dark shadow area, an out-of-focus background. If you can find a naturally simple area in the photo, you don't need overlays or text boxes at all.
Text Placement: Where to Put It
Position matters as much as the text itself. Here are the principles:
- Rule of thirds: Place text at the top-third or bottom-third of the image, not dead center. Center-center placement is static and boring unless it's a single powerful word or short phrase.
- Don't cover the subject: If the photo has a clear subject (a person, a product, a building), don't put text on top of it. Place text in the background, the sky, or along the edges where it won't compete with the main visual element.
- Align consistently: Left-align or center-align your text — pick one and stick with it throughout the image. Don't left-align the headline and center-align the subtitle. Inconsistent alignment looks sloppy.
- Leave margins: Don't push text to the very edge of the image. Leave at least 40-60 pixels of padding from every edge. Text pressed against the border feels cramped and may get cropped on certain platforms.
- Group related text: If you have a headline and a subtitle, keep them close together. If you have a date and a location, group them. Scattered text elements force the viewer's eye to bounce around the image.
Typography Hierarchy: Size, Weight, and Color
When your image has multiple text elements (headline, subtitle, call to action, date), you need a visual hierarchy that tells the viewer what to read first, second, and third.
- Primary text (headline): Largest size, boldest weight. This is the first thing the viewer reads. It should communicate the main message in 3-7 words.
- Secondary text (subtitle/description): 40-60% the size of the headline. Regular or medium weight. Provides context or additional information.
- Tertiary text (date, URL, credits): Smallest size, lightest weight or muted color. Important enough to include but shouldn't compete with the headline for attention.
Color hierarchy reinforces size hierarchy. The headline might be white, the subtitle light gray, and the tertiary text at 60% opacity. Or the headline is your brand's primary color, and everything else is white. The point is that different levels of text should look visibly different so the viewer's eye processes them in the right order.
Platform-Specific Text Tips
Instagram Posts
Text should be readable on a phone screen — which means large. A headline on a 1080×1080 Instagram post should be at minimum 60-80 pixels. Subtitle text at least 36-40 pixels. If you squint at your design on your phone and can't read the text instantly, it's too small. Use our Image Resizer to ensure your images are at the correct 1080px width for Instagram.
YouTube Thumbnails
Thumbnails display as small as 168×94 pixels on mobile. Your text needs to be readable at that size. Use ultra-bold fonts (Impact, Bebas Neue, Montserrat Black), limit text to 3-5 words maximum, and use high-contrast color combinations. See our full YouTube Thumbnail Guide for detailed techniques.
Presentations
Less text is more. A presentation slide with a full-bleed photo and a single impactful sentence overlaid is infinitely more engaging than a slide crammed with bullet points over a small background image. Let the photo tell the story; use text only for the key takeaway.
Adding text to images is one of those skills that separates content that gets scrolled past from content that gets saved, shared, and acted on. The techniques aren't complicated — pick a clean font, ensure contrast, create hierarchy, and don't overload. Master these basics and every image you create will communicate with the clarity and polish of a professional designer.
Prepare Your Images for Text Overlays
Resize, crop, and optimize your images to the perfect dimensions before adding text. Our free tools handle the technical prep so you can focus on the design.
Explore All Image Tools →