I learned the difference between lossless and lossy compression the hard way. Years ago, I was building a portfolio website and ran every single image through an aggressive JPEG optimizer at 40% quality. The file sizes were incredible — what had been 4 MB photographs became 80 KB thumbnails. My page load time was under one second. I was thrilled. Then I zoomed in on one of my portfolio images and saw it: blocky artifacts around every edge, banding in the gradients, muddy details where there should have been texture. The images looked like they'd been printed on a cheap inkjet in 2003.
The opposite mistake is just as common. A friend's e-commerce site was loading so slowly that customers were leaving before the page finished rendering. The culprit? Every product image was saved as a lossless PNG at full resolution — 3 MB to 8 MB per image, twenty images per page. The images were flawless. The user experience was catastrophic.
The sweet spot between quality and file size is what image compression is all about. But you can't find that sweet spot without understanding the fundamental difference between lossless and lossy compression — what each one does to your image data, when each is appropriate, and how to choose the right approach for every situation.
Lossless Compression: Nothing Is Lost
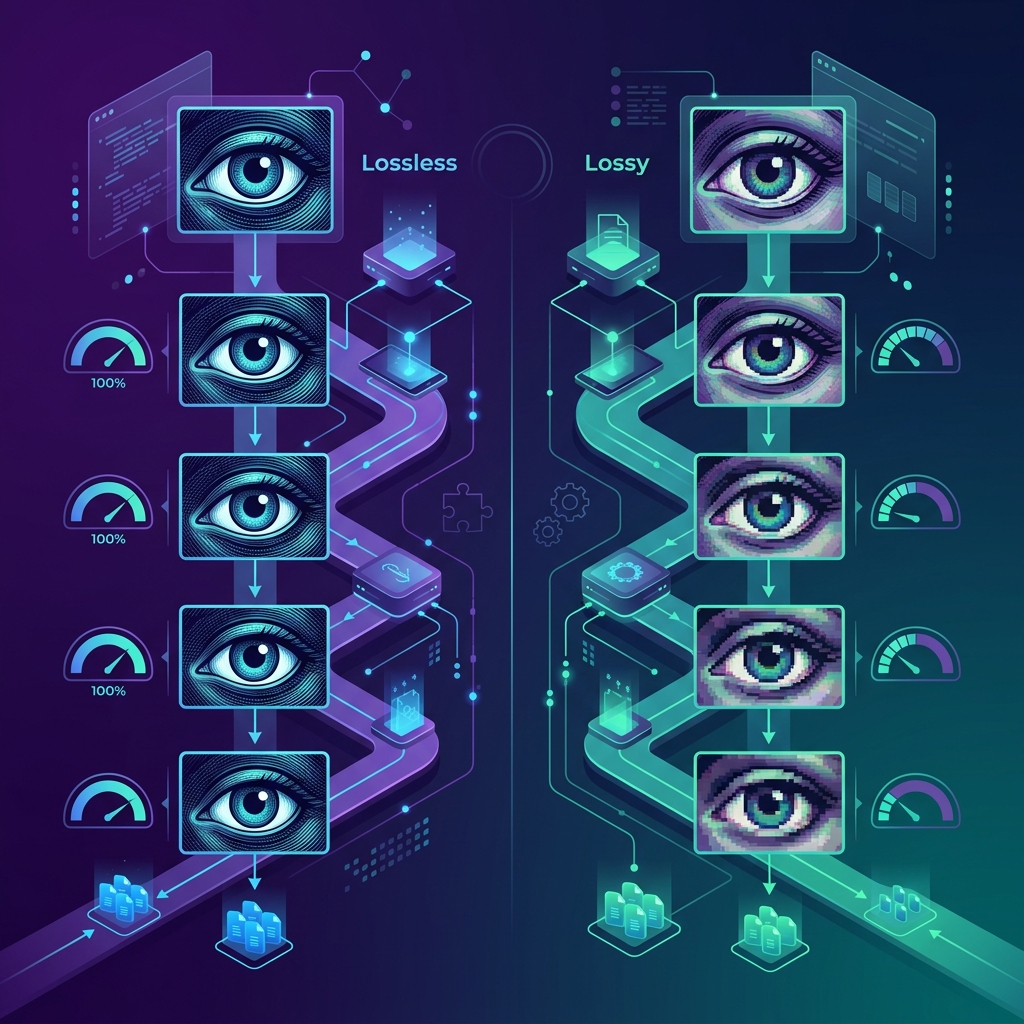
Lossless compression reduces file size without discarding any image data. When you decompress a losslessly compressed file, you get back the exact, pixel-perfect original. Every color value, every pixel, every bit of information is preserved. It's like vacuum-sealing a suitcase — the clothes take up less space, but when you open it, every shirt is exactly as you packed it.
How It Works
Lossless algorithms find patterns and redundancies in the data and encode them more efficiently. For example, if a row of pixels contains 200 identical white pixels in a row, instead of storing "white, white, white, white..." 200 times, the algorithm stores "200× white." This is a simplified example of run-length encoding, one of several techniques used in lossless compression.
Other lossless techniques include dictionary-based compression (finding repeated sequences of pixels and replacing them with shorter references), predictive coding (predicting each pixel's value based on its neighbors and storing only the difference), and entropy coding (using fewer bits for common values and more bits for rare values).
Formats That Use Lossless Compression
- PNG: The most common lossless format for web use. Uses the DEFLATE algorithm (a combination of LZ77 and Huffman coding).
- WebP (lossless mode): Google's format offers a lossless option that typically achieves 25-35% smaller files than PNG with identical quality.
- TIFF (LZW or ZIP): Used in professional photography and print workflows. Very large files but zero quality loss.
- GIF: Uses LZW compression. Limited to 256 colors, so it's lossless within that constraint but loses color depth compared to the original.
- AVIF (lossless mode): The newest contender, offering excellent lossless compression ratios.
- Raw formats (CR2, NEF, ARW): Camera-specific formats that store unprocessed sensor data with no compression or lossless compression only.
The Tradeoff
Lossless compression typically achieves file size reductions of 20% to 60% for photographs and 50% to 80% for graphics with large areas of solid color. That's significant, but not nearly as dramatic as lossy compression, which can reduce files by 80% to 95%.
Lossy Compression: Controlled Sacrifice
Lossy compression reduces file size by permanently discarding some image data. The discarded data is chosen strategically — the algorithm removes information that the human eye is least likely to notice, preserving the overall appearance while dramatically reducing file size. You cannot get the original data back from a lossy-compressed file. The discarded information is gone forever.
How It Works
JPEG compression, the most common lossy algorithm, exploits a fascinating quirk of human vision: our eyes are much more sensitive to changes in brightness than changes in color. JPEG takes advantage of this by converting the image to a color space that separates brightness from color information, then compressing the color information more aggressively than the brightness information.
The process involves dividing the image into 8×8 pixel blocks, applying a mathematical transformation (discrete cosine transform) to each block, quantizing the results (rounding values, which is where data is actually lost), and then encoding the quantized data efficiently. The "quality" slider in image editors controls the quantization step — lower quality means more aggressive rounding, more data loss, and smaller files.
Formats That Use Lossy Compression
- JPEG/JPG: The king of lossy compression. Used for 73% of all images on the web. Quality adjustable from 0 (maximum compression, terrible quality) to 100 (minimum compression, maximum quality).
- WebP (lossy mode): Achieves 25-34% smaller files than JPEG at equivalent visual quality.
- AVIF (lossy mode): Even better compression efficiency than WebP, producing files that are 50% smaller than JPEG at comparable quality.
- HEIC: Apple's default photo format since iPhone 7. Excellent compression, but limited support outside the Apple ecosystem.
Side-by-Side Comparison
| Factor | Lossless | Lossy |
|---|---|---|
| Quality after compression | Identical to original | Slightly reduced (adjustable) |
| Typical file size reduction | 20-60% | 70-95% |
| Can decompress to original? | Yes, perfectly | No, data permanently lost |
| Re-compression damage | None (safe to re-save) | Cumulative quality loss each time |
| Best for | Graphics, logos, screenshots, archives | Photographs, web images, social media |
| Common formats | PNG, TIFF, WebP lossless | JPEG, WebP lossy, AVIF, HEIC |
The Quality Scale: What Do Different JPEG Quality Levels Look Like?
Understanding how quality settings affect the actual visual output is crucial for making smart compression decisions. Here's what happens at each tier:
- 100% quality: Virtually indistinguishable from the original. File is only slightly smaller than uncompressed. Typically unnecessary — the extra file size doesn't produce visible quality benefits over 92-95%.
- 85-95% quality: The sweet spot for most purposes. Invisible quality loss to the naked eye, but significant file size reduction (typically 60-75% smaller than uncompressed). This is where professional photographers and web developers land for most work.
- 70-85% quality: Very slight softening visible if you zoom in to 200%, but imperceptible at normal viewing distances. Good for general web use where speed matters more than perfection.
- 50-70% quality: Compression artifacts become visible on close inspection — slight blockiness in gradients, softened fine details, minor color banding in subtle transitions. Acceptable for thumbnails, email attachments, and quick-loading previews.
- Below 50%: Visibly degraded. Obvious blocky artifacts, loss of fine detail, color shifts in gradients. Only appropriate for very small thumbnails or preview images where file size is critical.
My personal rule: 90% quality for portfolio and client work, 85% for blog images and general web content, 75% for email attachments and thumbnails. These hit the ideal balance for each use case without visible quality loss.
The Re-Compression Problem
This is the most important practical difference between lossless and lossy compression, and it's the one that catches people off guard.
Lossless compression can be applied and re-applied unlimited times with zero quality degradation. You can open a PNG, edit it, save it, open it again, edit it again, save it again — fifty times — and the quality on the fiftieth save is identical to the first.
Lossy compression accumulates damage with every save. Open a JPEG, make a small edit, save as JPEG. The image gets compressed again. Open it, make another edit, save again. More compression. Each cycle introduces a new round of quality loss on top of the previous round's artifacts. After 5-10 re-saves, the degradation becomes clearly visible — especially around text edges, hard borders, and gradient transitions.
This is why professional photographers and designers always work with lossless source files (RAW, TIFF, PNG, PSD) and only export to JPEG as the final step. The JPEG is a delivery format, not a working format.
Practical Decision Guide
Use Lossless When:
- The image contains text, logos, or sharp-edged graphics (JPEG artifacts are most visible on hard edges)
- You need transparency (PNG, WebP lossless)
- The image is a screenshot or UI capture
- You're archiving original photographs for long-term storage
- The image will be edited multiple times before final delivery
- Print quality is required and file size is not a constraint
Use Lossy When:
- The image is a photograph destined for web or social media
- Page load speed matters (which is always, on the web)
- The image is a final delivery product that won't be re-edited
- You're sending images via email with size limits
- You're optimizing an entire website's image library for performance
- The viewing context is small (thumbnails, feeds, previews)
Use our Image Compressor to experiment with different quality levels on your own images. Upload a photo, try it at 90%, 80%, and 70%, and compare the visual quality alongside the file sizes. You'll develop an intuition for the right balance that serves both your quality standards and your performance requirements.
Compress Images with Full Control
Our free Image Compressor lets you choose your compression level and preview quality before downloading. Find your perfect balance between size and quality.
Compress Images Free →