I took exactly 247 photos at my best friend's wedding. Got there early, stayed late, shot everything — the ceremony, the first dance, the cake cutting, the chaotic bouquet toss. Felt like a hero when I got home and imported them onto my laptop. Then I actually looked at them. Thirty-eight of the 247 photos were noticeably blurry. Some from camera shake during the low-light ceremony, some from the subject moving faster than my shutter speed could freeze, and a few that were just slightly out of focus — close enough to tease you with what could have been a great shot, blurry enough to be unusable.
This experience is universal. Blurry photos are the number one frustration in photography, whether you're shooting with a $4,000 mirrorless camera or a smartphone at a birthday party. The good news is that many blurry photos can be significantly improved — and sometimes fully rescued — with the right tools and techniques. The bad news is that the physics of image sharpening have limits, and understanding those limits will save you from wasting hours trying to fix the unfixable.
This guide covers every type of image blur, what causes each one, which types can be fixed and which can't, and the exact tools and techniques for sharpening images without Photoshop or any paid software.
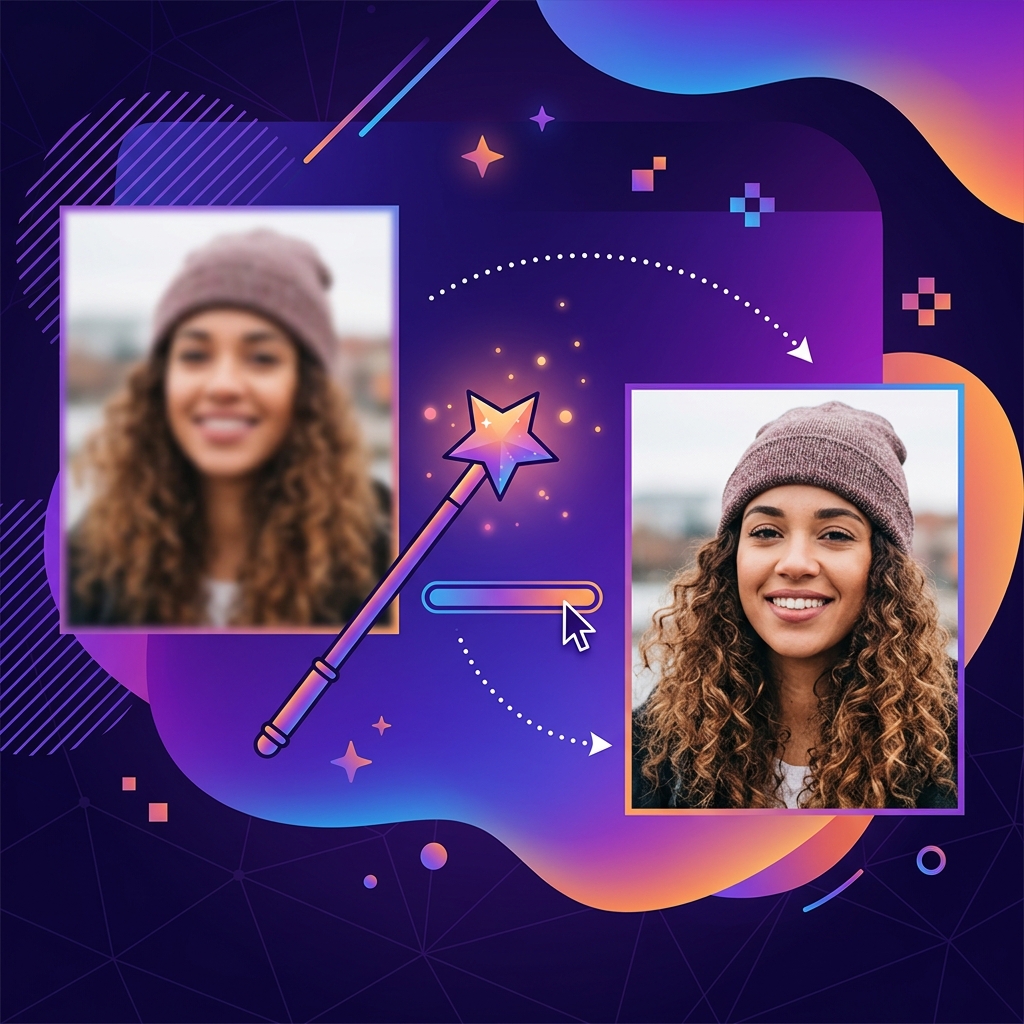
The Four Types of Blur (And Which Ones Are Fixable)
Not all blur is created equal. Understanding what caused the blur determines whether it can be fixed and which technique to use.
1. Motion Blur (Camera Shake)
This happens when the camera moves during the exposure. The entire image appears to be "smeared" in one direction. You'll see it most often in low-light situations where the shutter speed drops below a handheld-safe threshold (generally 1/60th of a second for static subjects).
Fixability: Moderate. Light motion blur can be significantly improved with AI deblurring tools. Heavy motion blur — where the smear is more than a few pixels — is generally too far gone. The information has been physically blended together during the exposure, and no algorithm can perfectly separate it back out.
2. Subject Motion Blur
The camera was steady, but the subject moved. A child running, a dog shaking, a dancer mid-spin. The background is sharp but the subject is blurred. This is actually one of the hardest types to fix because the blur varies across the image — the stationary background needs no correction while the moving subject needs aggressive correction.
Fixability: Low to Moderate. AI tools have gotten better at this, but results are hit-or-miss depending on the severity. Slight motion blur can be improved; a subject that's a complete smear cannot.
3. Out-of-Focus Blur
The camera focused on the wrong thing. The background is tack-sharp, but your subject is a soft, fuzzy blob. Or the subject is sharp but the detail you wanted in the background is entirely out of focus. This type of blur creates smooth, circular bokeh-like softness rather than the directional smear of motion blur.
Fixability: Low. This is the hardest type of blur to fix. Focus blur means the lens physically didn't resolve the detail for that area of the image — the information was never captured in the first place. AI tools can add apparent sharpness by enhancing edges, but they're essentially guessing at details that don't exist in the image data.
4. Compression and Upscaling Blur
The image was heavily compressed (aggressive JPEG quality) or scaled up from a smaller resolution, resulting in softness, blockiness, or loss of fine detail. Social media platforms are notorious for this — upload a crisp 4000×3000 photo to Instagram and download it later, and you'll get back a mushy, artifact-ridden version.
Fixability: Good. This is actually the most fixable type of blur. AI upscaling tools (see our AI Image Upscaling guide) can reconstruct detail lost to compression and low resolution with impressive accuracy. The original detail existed and was discarded — AI can predict and recreate much of it.
Method 1: AI-Powered Sharpening and Deblurring
The biggest advancement in image sharpening in the last five years has been AI-powered deblurring. These tools use neural networks trained on millions of sharp/blurry image pairs to predict what a sharp version of your blurry photo should look like. They don't just sharpen edges — they reconstruct missing detail, reduce noise, and enhance textures in ways that traditional sharpening filters can't match.
The results can be genuinely remarkable on lightly to moderately blurry photos. A photo that's slightly soft from camera shake can be transformed into something that looks like it was taken on a tripod. Old family photos scanned from prints can be dramatically clarified. Low-resolution screenshots can be upscaled with believable detail.
But be realistic about expectations. AI sharpening is not magic. It cannot conjure detail that was never captured. A photo where the subject is a complete blur will not become tack-sharp — the AI will do its best, but the result will look processed and artificial. The sweet spot is photos that are "almost sharp" — the ones where you can tell it would have been a great shot if the shutter speed had been just a bit faster or the focus had been just slightly more precise.
Method 2: Unsharp Mask Technique
The confusingly named "unsharp mask" is the traditional sharpening technique used in image editing for decades. It works by finding edges in the image (areas where adjacent pixels differ significantly in brightness) and increasing the contrast along those edges. This creates the perception of increased sharpness without actually adding new detail.
Unsharp mask has three parameters:
- Amount: How much contrast to add to the edges. Higher values create more aggressive sharpening. Start at 100-150% for general sharpening.
- Radius: How far from each edge the contrast increase extends, measured in pixels. Lower values (0.5-1.5) sharpen fine details; higher values (2-4) sharpen larger-scale edges. For most photos, 0.8-1.2 is the sweet spot.
- Threshold: How different adjacent pixels need to be before the filter considers them an "edge." Low thresholds sharpen everything (including noise); high thresholds sharpen only obvious edges. Start at 0-4 and increase if you see noise being amplified.
The golden rule of sharpening: it's easier to add more than to undo too much. Start with conservative settings and increase gradually. Over-sharpened photos — with glowing halos around edges and crunchy, exaggerated textures — look worse than slightly soft photos.
Method 3: High-Pass Sharpening
High-pass sharpening is a more controlled technique that gives you precise control over what gets sharpened. The concept: create a "high-pass" version of the image that contains only the edges and fine detail (everything else becomes flat gray), then blend it back onto the original image to enhance only those details.
This technique is particularly effective for portrait sharpening, where you want to enhance eye detail, hair texture, and fabric patterns without amplifying skin pores and blemishes. By adjusting the high-pass radius, you control the scale of detail being enhanced.
When a Photo Can't Be Saved
Honesty time. Some photos are beyond rescue, and recognizing this saves you time and frustration:
- Completely out of focus: If the subject is a shapeless blur with no discernible edges, sharpening will produce artifacts, not clarity. The information was never captured.
- Extreme motion blur: If the smear is so severe that the subject has moved by dozens of pixels during the exposure, the original detail is irretrievably blended. AI can improve it slightly, but it won't be sharp.
- Heavily compressed small images: A 200×150 pixel JPEG that's been compressed to 5 KB has lost so much information that even AI upscaling produces mushy, artificial-looking results.
- Already over-sharpened: If someone already applied aggressive sharpening and the image has visible halos, crunchy edges, and amplified noise, you can't undo that damage and then re-sharpen properly. The artifacts become permanent.
Prevention: How to Take Sharper Photos in the First Place
The best fix for blurry photos is not taking blurry photos. Here are the techniques that make the biggest difference:
- Use faster shutter speeds. For handheld shooting, use at least 1/(focal length) as your minimum shutter speed. On a 50mm lens, that's 1/50th of a second. On a 200mm lens, 1/200th. On a phone, aim for at least 1/60th for static subjects, 1/250th for moving subjects.
- Stabilize your camera. Use a tripod for slow shutter speeds. No tripod? Brace your elbows against your body, lean against a wall, or set the camera on a stable surface. Even a stack of books works.
- Check your focus point. Tap on your subject on a phone screen to set focus there. On a camera, make sure the focus point is on the subject's eyes (for portraits) or the nearest important detail.
- Clean your lens. A smudged phone camera lens introduces a soft, hazy blur that no amount of post-processing can fix cleanly. Wipe it with a microfiber cloth before shooting.
- Use burst mode for action. Take 5-10 shots in rapid succession. At least one will catch the subject at a sharp moment between motions.
- Don't zoom digitally. Digital zoom crops and enlarges, reducing resolution and sharpness. Move physically closer or use optical zoom.
Blurry photos will always happen — it's part of photography. But with modern AI tools and traditional sharpening techniques, a significant percentage of soft images can be rescued to usable quality. The key is diagnosing the type of blur correctly, choosing the right tool for that specific problem, and having realistic expectations about what's fixable and what's not.
Optimize Your Sharpened Photos
After sharpening, compress your images for web use without losing the recovered detail. Our free tools maintain quality while reducing file size.
Compress Images Free →