I remember the first time I actually sat down and looked at why my personal portfolio site was taking forever to load. I had spent weeks designing it, tweaking every little CSS animation, making sure the typography was just right. But when I ran it through Google PageSpeed Insights, the score was a painful 34 out of 100. The culprit? My images. Every single one of them was a full-resolution JPEG straight out of my camera — some weighing in at four or five megabytes each. I had twelve of them on the homepage. Do the math, and that's nearly fifty megabytes of images alone.
If you're running a website in 2026 and your pages take more than three seconds to load, you're bleeding visitors. Google's own research has shown, time and again, that more than half of mobile users will straight-up leave a page if it doesn't load within three seconds. And here's the kicker — images typically account for anywhere between 50 and 75 percent of a webpage's total weight. So if you want a fast site, image optimization isn't optional. It's the single biggest lever you can pull.
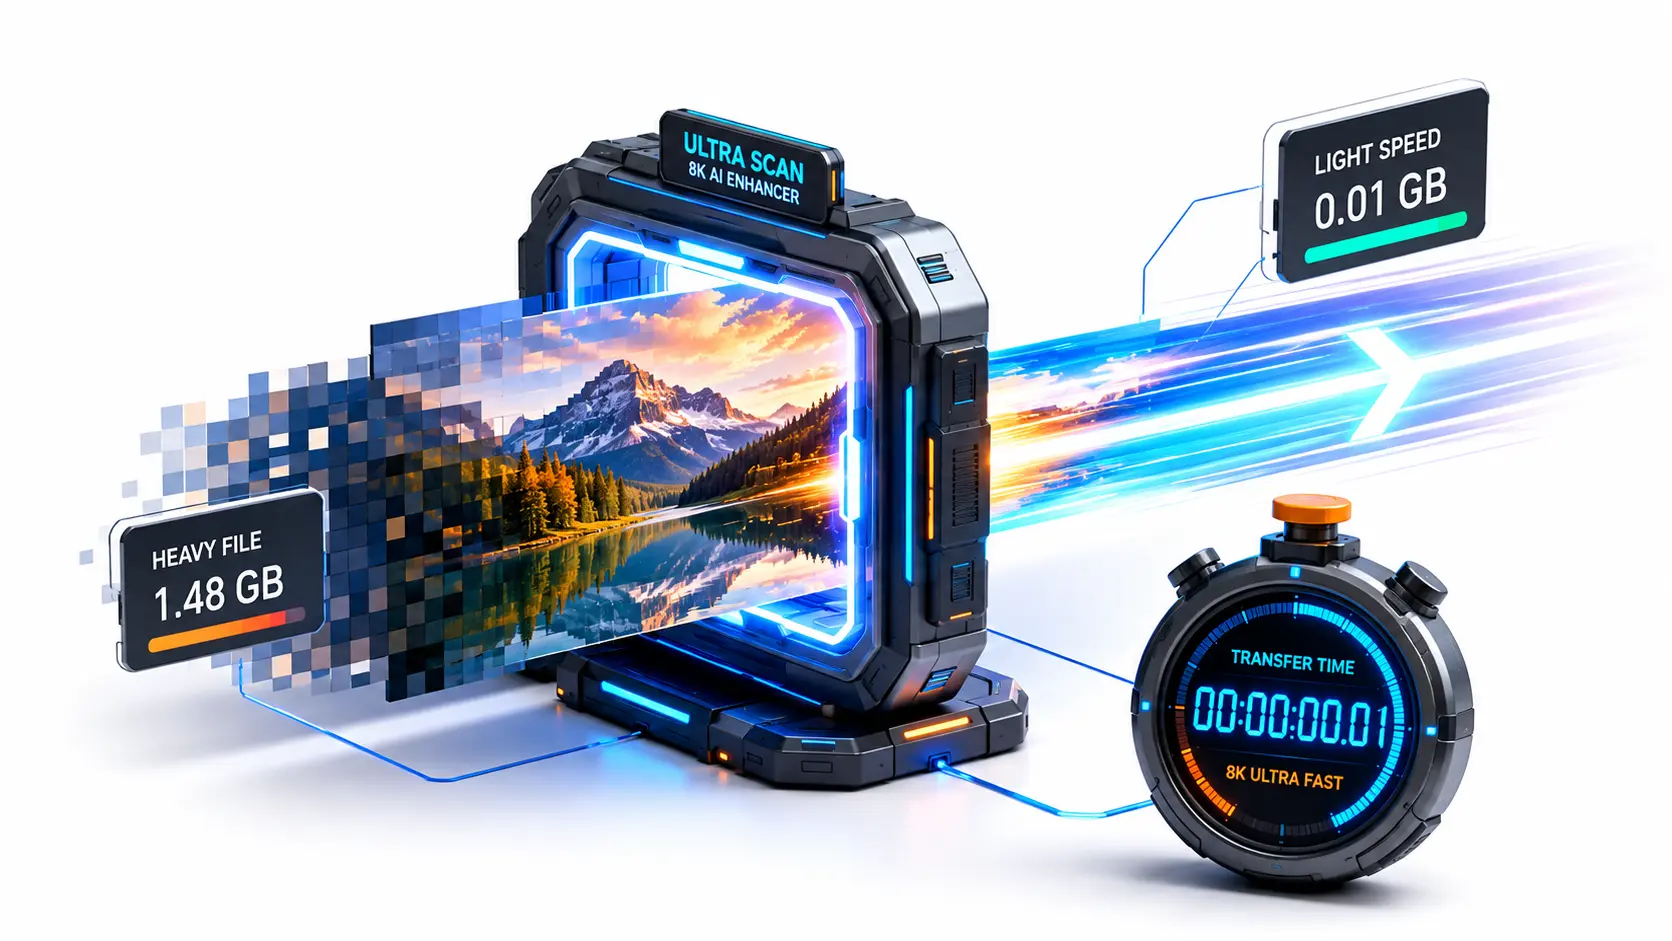
Why Image Optimization Actually Matters (Beyond Just Speed)
Let's get the obvious stuff out of the way first. Faster pages mean happier visitors. But image optimization goes way deeper than just shaving a second or two off your load time.
For starters, Google uses page speed as a ranking factor. This isn't speculation — they've been pretty transparent about it since the "Speed Update" rolled out a few years back, and it's only become more important with Core Web Vitals. Your Largest Contentful Paint (LCP) score, which directly measures how quickly the main visual content of a page renders, is heavily influenced by how large and how optimized your images are. A bloated hero image can single-handedly tank your LCP score and push your page further down in search results.
Then there's the bandwidth cost. If you're on a hosting plan that charges for data transfer — which many cloud platforms do — serving oversized images to thousands of visitors adds up fast. I've seen small business owners spending thirty or forty dollars a month extra on bandwidth just because nobody bothered to compress their product images. That money could go toward actual marketing instead of wasted bytes.
And let's not forget accessibility. People in areas with slower internet connections, people on limited mobile data plans, people using older devices — they all suffer disproportionately when your site serves unoptimized images. Optimizing your images is, in a very real sense, an act of inclusivity.
Understanding the Formats: JPEG, PNG, WebP, and AVIF
Before you start compressing anything, you need to understand which format to use and when. This is where a lot of people go wrong — they just convert everything to JPEG and call it a day. But each format has its sweet spot, and choosing the right one can make a huge difference.
JPEG has been the workhorse of the web for decades, and honestly, it's still perfectly fine for photographs and complex images with lots of color variation. The compression algorithm is lossy, meaning it throws away some data to achieve smaller file sizes, but for most photos the quality loss is imperceptible at 75 to 85 percent quality settings. Where JPEG falls short is transparency — it simply doesn't support it — and with images that have sharp text, logos, or flat-color graphics, where compression artifacts become really noticeable.
PNG is your go-to when you need transparency or when you're dealing with screenshots, logos, illustrations, or any image with sharp lines and solid colors. The compression is lossless, so you don't lose any quality, but the file sizes tend to be significantly larger than JPEG for photographic content. A common mistake I see is people saving product photos as PNG "because they look better." In most cases, a well-compressed JPEG at 82 percent quality will look identical to the human eye and be five to ten times smaller.
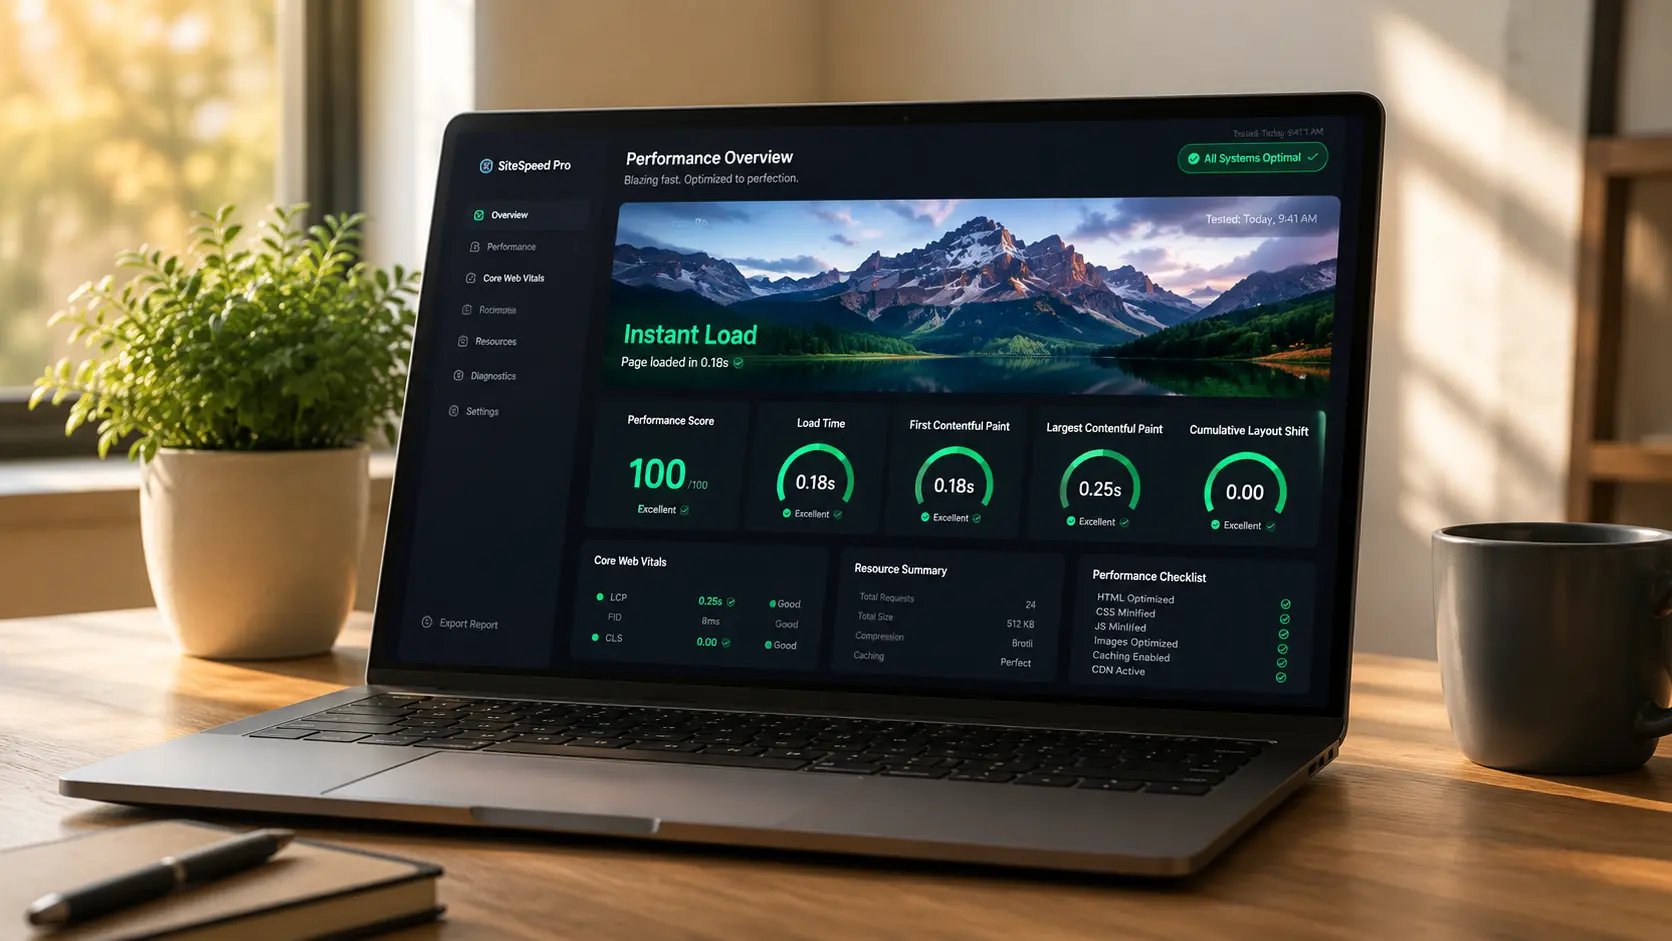
WebP is Google's modern format, and honestly, it's kind of a game-changer. It supports both lossy and lossless compression, it handles transparency, and it consistently produces files that are 25 to 35 percent smaller than equivalent JPEGs or PNGs. Browser support is now universal — every major browser supports WebP in 2026. If you're not using WebP on your site yet, you're leaving free performance on the table.
AVIF is the newest kid on the block, developed by the Alliance for Open Media. It pushes compression even further than WebP, often achieving 50 percent smaller file sizes than JPEG at comparable quality. The catch is that encoding AVIF images is slower, and while browser support has improved dramatically, it's not quite as universal as WebP yet. For sites that want cutting-edge performance and can implement proper fallbacks, AVIF is worth exploring.
The Practical Optimization Workflow I Actually Use
Theory is great, but let me walk you through what I actually do when I'm optimizing images for a real project. This workflow has been refined through dozens of client sites, and it consistently gets LCP scores under 2.5 seconds even on image-heavy pages.
Step 1: Resize Before You Compress
This is the step most people skip, and it's arguably the most impactful. If your website layout displays an image at 800 pixels wide, there is absolutely no reason to serve a 4000-pixel-wide original. You're asking the browser to download five times more data than it needs and then throwing away 80 percent of those pixels during rendering.
I always resize my images to match the maximum display size on the page, plus a little extra for high-DPI (retina) screens. A good rule of thumb is to make the image twice the CSS display width. So if an image displays at 400 CSS pixels wide, I'll resize it to 800 pixels. That's plenty sharp for retina displays without going overboard.
Step 2: Choose the Right Format
For photographs and hero images, I go with WebP as the primary format with a JPEG fallback. For logos, icons, and illustrations, I stick with SVG when possible (since it's vector and scales infinitely) or PNG when SVG isn't an option. For screenshots and UI mockups, PNG or WebP lossless works well.
Step 3: Compress Aggressively (But Not Stupidly)
Here's something a lot of optimization guides won't tell you — you can usually compress images way more than you think before the quality loss becomes noticeable. I routinely compress JPEGs to 72 to 78 percent quality and WebP images to 75 to 80 percent. On most monitors, at typical viewing distances, the difference between 80 percent and 100 percent quality is invisible. But the file size difference can be enormous — sometimes 60 to 70 percent smaller.
The trick is to check your images after compression on an actual screen. Don't zoom in to 400 percent in Photoshop looking for artifacts — that's not how anyone views your website. Open it in a browser tab at normal zoom and scroll past it. If it looks fine at a glance, it's fine.
Step 4: Use Lazy Loading for Below-the-Fold Images
Any image that isn't visible in the initial viewport when the page loads should use the loading="lazy" attribute. This tells the browser to defer loading those images until the user scrolls near them. It's a one-line change in your HTML that can dramatically reduce initial page load time, especially on pages with lots of images like galleries, portfolios, or blog archives.
One caveat — don't lazy-load your hero image or any image that's part of the LCP element. Those need to load as fast as possible, so keep them as loading="eager" (which is the default). Lazy-loading your LCP image is a common mistake that will actually hurt your Core Web Vitals score.
Step 5: Always Specify Width and Height
This one is simple but crucial. Always include width and height attributes on your img tags. This allows the browser to reserve the correct amount of space for the image before it loads, preventing that annoying layout shift where the page jumps around as images pop in. Cumulative Layout Shift (CLS) is another Core Web Vital, and unspecified image dimensions are one of the most common causes of poor CLS scores.
Tools That Make This Entire Process Painless
You don't need to be a developer or buy expensive software to optimize your images properly. There are plenty of free tools — including the ones we've built right here at MyImgToolsPro — that handle all the heavy lifting for you.
Our Image Compressor lets you reduce file sizes with adjustable quality settings, so you can find the perfect balance between size and visual quality for your specific use case. The Image Resizer handles the dimension adjustment step, letting you resize to exact pixel values or by percentage. And our WebP Converter makes format conversion dead simple — upload a JPEG or PNG, get a perfectly optimized WebP file back in seconds.
The best part is that everything runs right in your browser. Your images never get uploaded to a server, so there are no privacy concerns and no file size limits to worry about. It's the workflow I wish I'd had when I was struggling with that 34 PageSpeed score on my portfolio site.
Quick Wins You Can Implement Right Now
If you're feeling overwhelmed by all of this, here are five things you can do in the next thirty minutes that will make an immediate, measurable difference to your site's performance:
- Run your homepage through Google PageSpeed Insights and note the "Properly size images" and "Serve images in next-gen formats" recommendations. Those are your starting points.
- Take your three largest images (by file size) and run them through a compressor. Even a 50 percent reduction on your biggest files will have a noticeable impact.
- Convert your hero image to WebP format. This single change often shaves half a second or more off LCP.
- Add
loading="lazy"to every image that's below the fold. It takes five minutes and costs nothing. - Add explicit
widthandheightattributes to everyimgtag that's missing them. Your CLS score will thank you.
Image optimization isn't glamorous work. Nobody's going to look at your website and say "Wow, those images are really well-compressed." But they will notice when your pages load instantly, when scrolling feels smooth, and when they don't have to wait five seconds staring at a blank screen. And Google will notice too — in your search rankings.
The difference between a well-optimized site and an unoptimized one is often the difference between a visitor who stays and a visitor who hits the back button. Don't let your images be the reason people leave.
Start Optimizing Your Images Now
Use our free Image Compressor to reduce file sizes instantly — no signup, no watermarks, no limits.
Compress Images Free →