My mom's 60th birthday was three weeks away and I had this idea — instead of buying a generic card from the store, I'd create a photo collage with pictures from every decade of her life. Baby photos from the 1960s, her college graduation, her wedding, holding each of us kids for the first time, family vacations, and recent photos with her grandchildren. I figured it would take thirty minutes. It took four hours. Not because the tools were complicated, but because I had no clue what I was doing. I shoved twenty photos into a grid and it looked like a cluttered evidence board from a crime drama.
The second version, the one I actually printed and framed, used nine photos instead of twenty. It had consistent spacing, a cohesive color palette, and a clear visual hierarchy where the most important moments got the biggest frames. My mom cried when she opened it. Good tears. The difference between those two versions wasn't talent or expensive software — it was understanding a handful of design principles that take about ten minutes to learn.
Photo collages are everywhere: Instagram grids, Pinterest boards, wedding displays, yearbooks, social media stories, blog headers, real estate listings, and family gifts. Creating one that actually looks good — not just a random pile of images thrown together — requires understanding layouts, sizing, visual balance, and a few tricks that professional designers use. This guide covers all of it.
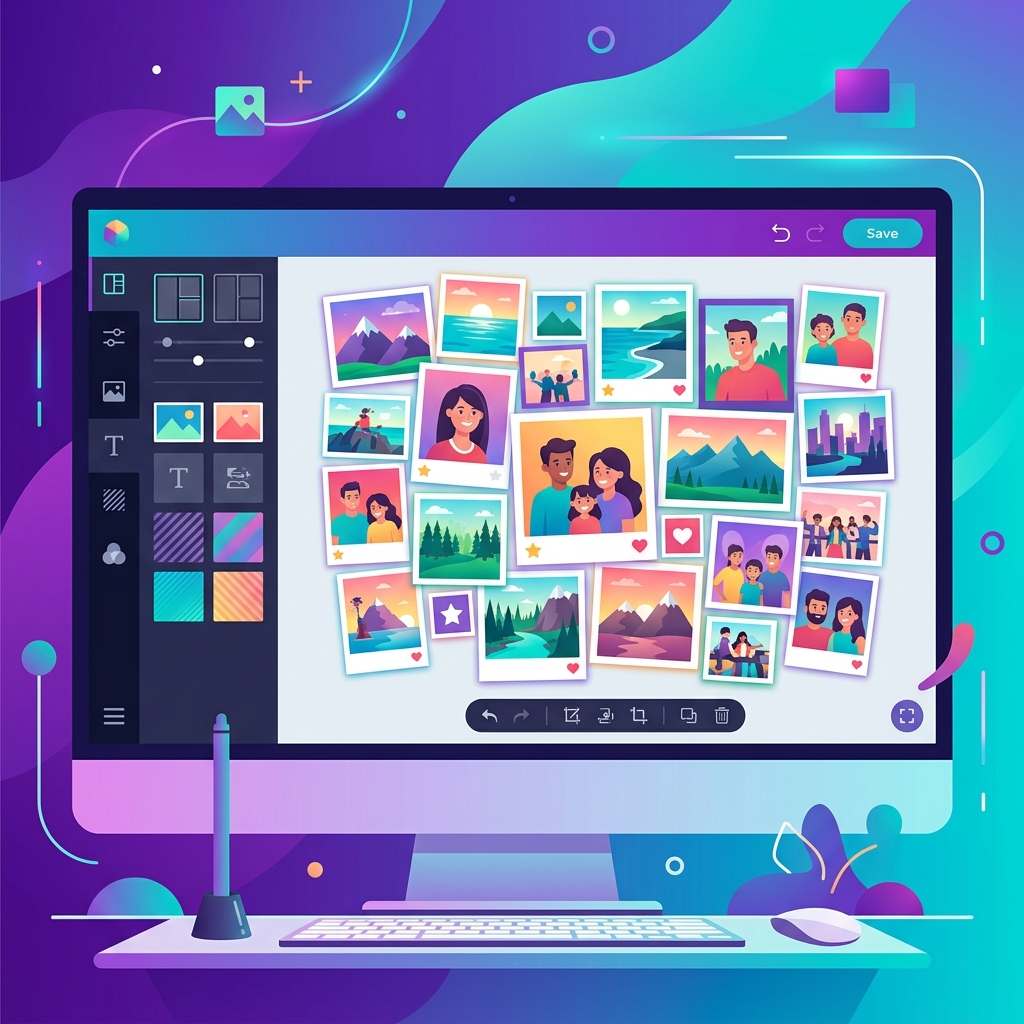
Understanding Collage Layouts: The Foundation
Every good collage starts with a layout — the underlying structure that determines where each photo goes, how big it is, and how the photos relate to each other visually. The layout is more important than the individual photos. A mediocre photo in a great layout looks better than a great photo in a terrible layout.
Grid Layouts (Equal-Size Cells)
The simplest and safest layout. All photos are the same size, arranged in even rows and columns: 2×2, 3×3, 2×3, 4×4. Grid layouts work well when all your photos have equal importance and similar visual weight. They're clean, symmetrical, and hard to mess up.
The key decision with grids is spacing. Tight spacing (2-4 pixels between photos) creates a mosaic feel where the images blend together. Wide spacing (10-20 pixels) creates a gallery feel where each image is clearly its own entity. Both work; just be consistent. The one thing that kills grid collages is inconsistent spacing — 8 pixels here, 12 pixels there. It looks sloppy even if the photos are gorgeous.
Magazine Layouts (Mixed-Size Cells)
This is where one photo is larger than the others, establishing visual hierarchy. The classic magazine layout has one hero image taking up half the collage, with three or four smaller images arranged around it. This layout works perfectly when you have one standout photo and several supporting images.
The hero image should be your strongest photo — the one with the best composition, lighting, and emotional impact. Supporting images complement the hero by showing different angles, details, or moments from the same event or theme. Resist the urge to make all images the same size when you have a clear winner.
Freeform Layouts (Overlapping, Rotated)
Photos scattered at different angles, overlapping each other, with varying sizes — like physical prints spread on a table. This layout feels casual, personal, and nostalgic. It works beautifully for scrapbook-style projects, casual social media posts, and personal gifts.
The trap with freeform layouts is chaos. Without constraints, they quickly become unreadable visual noise. The trick is controlled randomness: rotate photos by small angles (5-10 degrees, not 45), overlap edges by 10-15 percent (not 50 percent), and maintain a rough center of gravity so the collage doesn't feel lopsided.
How Many Photos Should Your Collage Have?
This is the question that trips up most beginners. The answer is almost always fewer than you think.
- 3-4 photos: Clean, impactful, easy to arrange. Great for Instagram posts, product comparisons, and before/after showcases.
- 5-9 photos: The sweet spot for most collages. Enough variety to tell a story without overwhelming the viewer. Perfect for event recaps, portfolio highlights, and gifts.
- 10-16 photos: Requires a very structured grid layout to avoid looking cluttered. Works for yearbook-style displays and comprehensive event coverage.
- 20+ photos: Almost always too many unless you're creating a large-format print (poster-sized or larger). On a phone screen or standard web page, twenty photos in a collage will be too small to see individually.
A good rule of thumb: start by selecting twice as many photos as you think you need, then ruthlessly cut the weakest half. The remaining photos will be stronger as a group because you've removed the ones that dilute the overall quality.
Preparing Your Photos for the Collage
Before dropping photos into a layout, some preparation makes a massive difference in the final result.
Consistent Aspect Ratios
If your collage uses a grid layout, all photos should be cropped to the same aspect ratio before being placed in the grid. Mixing portrait and landscape photos in a rigid grid creates awkward gaps, stretching, or cropping. Use our Crop Tool to standardize all photos to the same ratio — 1:1 (square), 4:3, or 16:9 depending on your layout.
Consistent Color Temperature
Photos taken at different times, in different lighting, with different cameras will have different color temperatures. One photo might be warm and golden (indoor light), while another is cool and blue (overcast sky). In a collage, these inconsistencies are jarring. Try to select photos with similar color tones, or adjust the white balance so they match reasonably well.
Appropriate Resolution
Each photo in the collage should be high enough resolution to look sharp at the size it'll be displayed. For a social media collage that's 1080×1080 pixels total with 4 photos, each photo needs to be at least 540×540 pixels. For a print collage at 300 DPI, the math gets more demanding. Use our Image Resizer to check and adjust dimensions.
Collage Templates for Every Purpose
Instagram Feed Collage
Square format (1080×1080 pixels). For a 2×2 grid, each photo is roughly 530×530 with 20 pixels of spacing. For a 3×3, each photo is about 347×347. White or light gray spacing works best because it matches Instagram's interface. Keep the spacing thin (8-12 pixels) for a modern, seamless look.
Facebook Cover Collage
820×312 pixels — an extremely wide format that suits 3-5 photos in a horizontal strip. This works beautifully as a panoramic-style collage with no spacing, creating the illusion of one continuous image made from multiple photos.
Pinterest Pin Collage
1000×1500 pixels (2:3 vertical). Pinterest favors tall images, so stack your photos vertically — two or three images arranged top-to-bottom with text blocks between them describing each image. This layout consistently outperforms single images on Pinterest for engagement.
Print Collage (8×10, A4)
For physical prints, work at 300 DPI. An 8×10 inch print at 300 DPI is 2400×3000 pixels. Each individual photo in the collage needs to maintain at least 150 DPI at its printed size to avoid visible pixelation. Always design at the target print size to avoid surprises at the printer.
Design Tips That Separate Good Collages from Great Ones
- Use a consistent background color. White is classic and works everywhere. Black adds drama. A muted, desaturated color pulled from one of the photos creates a cohesive, intentional feel. Never use a busy pattern or texture as the collage background — it fights with the photos for visual attention.
- Add breathing room. Spacing between photos (called "gutters" in design) prevents the collage from feeling cramped. Even 6-8 pixels of consistent spacing transforms a cluttered pile into a designed layout.
- Create focal hierarchy. Not every photo should be the same size unless they're truly equal in importance. Make your best photo 1.5x to 2x the size of supporting photos. The viewer's eye naturally lands on the largest element first.
- Limit text to the essentials. If you're adding text to your collage — a date, a name, a short caption — keep it minimal. One clean line in a simple font. Collages with paragraphs of text pasted over them look like ransom notes.
- Round corners for a modern look. Subtle corner rounding (8-12 pixel radius) on each photo within the collage softens the overall feel and looks more contemporary than sharp right angles. This small detail alone can make a collage look significantly more polished.
- Check it at actual size. A collage that looks amazing on your 27-inch monitor might be unreadable on a phone screen. If your collage is destined for social media, check it on your phone before publishing.
Common Collage Mistakes
- Too many photos: The most common mistake by far. When you cram fifteen photos into a collage, none of them get enough visual space to make an impact. Cut ruthlessly.
- Mixed aspect ratios in a grid: Square photos mixed with landscapes in a rigid grid layout creates gaps, stretching, or awkward cropping. Standardize before placing.
- Inconsistent spacing: 8px here, 15px there, 4px somewhere else. The eye catches inconsistency immediately, even if the viewer can't articulate what's wrong.
- No visual hierarchy: When everything is the same size, nothing stands out. Give your best photo more real estate.
- Low-resolution images: A single blurry or pixelated photo drags down the entire collage. Every image should be sharp at its display size.
- Ignoring the story: A great collage tells a story or captures a theme. Random photos with no connection feel like a database dump, not a designed piece.
The difference between a forgettable collage and one that makes someone's jaw drop is usually not the photos — it's the layout, the spacing, the sizing, and the restraint. Pick fewer photos than you think you need. Give them room to breathe. Make your favorite one bigger than the rest. Keep the background clean. These simple principles will produce better results than any template or filter.
Prepare Your Photos for the Perfect Collage
Resize, crop, and compress your photos to consistent dimensions before assembling your collage — all free, all online.
Explore All Image Tools →