When I launched my first Etsy shop selling handmade candles four years ago, I did what most first-time sellers do: took photos on my kitchen counter with the overhead light on, uploaded them directly from my phone, and waited for the sales to roll in. They didn't. In six weeks, I sold exactly two candles, both to my mother. The product was good — friends and family who received them as gifts genuinely loved them. The photos, though, were terrible. They made a $28 artisan candle look like something from a dollar store clearance bin.
I spent a weekend redoing every photo using techniques I'd learned from professional e-commerce photographers. Same candles, same phone camera, same apartment — but with proper lighting, clean backgrounds, and deliberate composition. Within three weeks of updating the listings, my weekly sales went from zero to fifteen. The product hadn't changed. The price hadn't changed. The photos changed everything.
Product photography is the single most important factor in e-commerce conversion rates. Studies consistently show that 75 to 80 percent of online shoppers say product images are the most influential factor in their purchase decisions — more than descriptions, reviews, or price. You are quite literally photographing money. This guide covers how to create professional-quality product photos using your smartphone and free tools, with specific requirements for Amazon, Shopify, and Etsy.
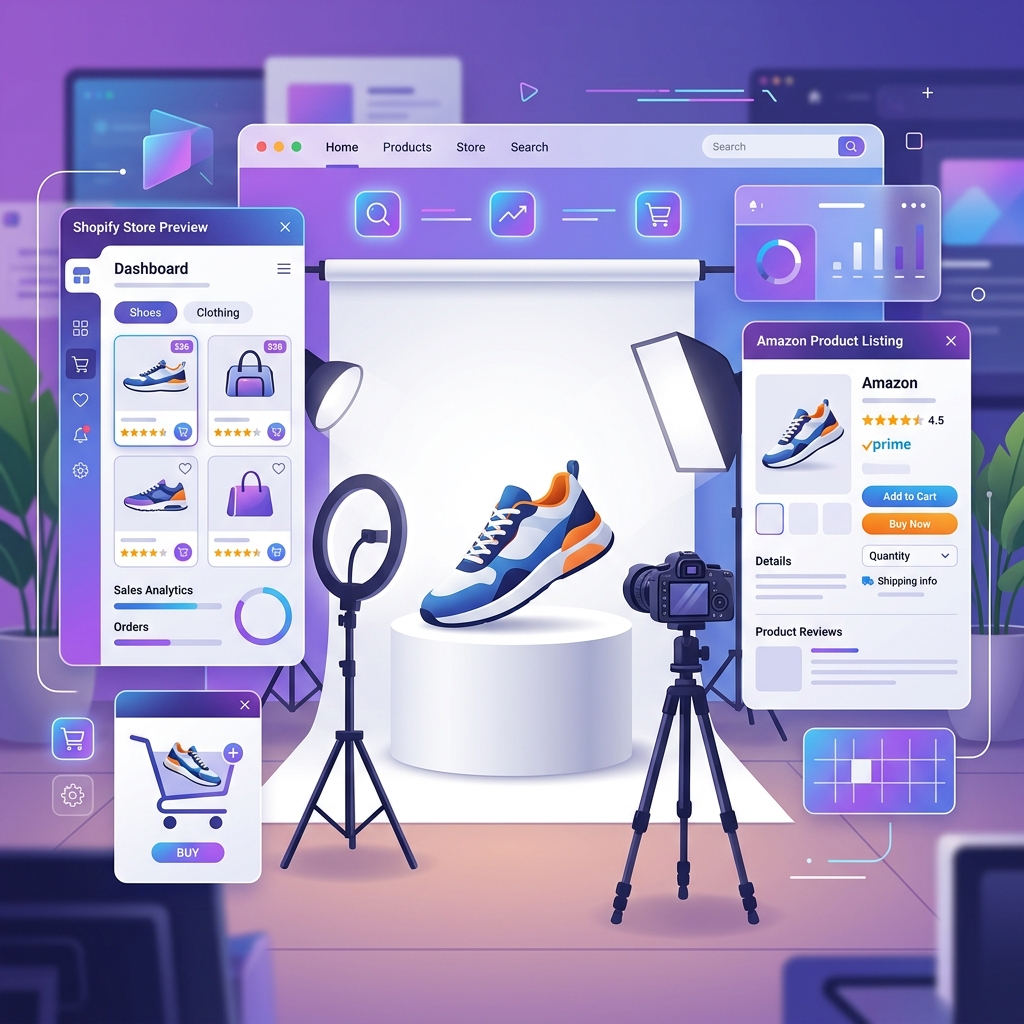
Platform-Specific Image Requirements
Each marketplace has its own image specifications, and failing to meet them can result in suppressed listings or outright rejection. Here are the current requirements for the three biggest platforms:
Amazon
- Main image: Pure white background (RGB 255, 255, 255). The product must fill at least 85% of the image frame. No text, logos, watermarks, or props. JPEG, TIFF, PNG, or GIF format.
- Minimum size: 1000 pixels on the longest side (for zoom functionality). Amazon recommends 2000+ pixels for optimal zoom experience.
- Aspect ratio: Square (1:1) is preferred. Images are displayed in a square container.
- Additional images: Up to 8 additional images. These can include lifestyle shots, infographics, size charts, and different angles. Non-white backgrounds are allowed for supplementary images.
- Strict rules: No mannequins (for apparel), no packaging visible (unless it's a gift set), no accessories not included in the purchase.
Shopify
- Recommended size: 2048×2048 pixels (square). Shopify automatically generates different sizes for thumbnails, product pages, and collections.
- Maximum file size: 20 MB per image, though keeping under 2 MB is recommended for page speed.
- Formats: JPEG, PNG, GIF, WebP.
- Background: No strict requirement, but white or light gray backgrounds are industry standard for consistency across your store.
- Consistency: All product images across your store should have the same aspect ratio, similar lighting, and consistent styling.
Etsy
- Recommended size: 2000 pixels on the shortest side. Etsy recommends a 4:3 landscape ratio for the best display, though square works too.
- First image: This is your listing thumbnail — the image that appears in search results. It needs to be your strongest, most eye-catching photo.
- Up to 10 images per listing. Use them all. Listings with more images consistently outperform those with fewer.
- Background flexibility: Etsy is more relaxed about backgrounds than Amazon. Many top sellers use styled lifestyle backgrounds, but clean white remains effective.
The DIY Photography Setup (Under $50)
You don't need expensive equipment. Here's a setup that produces professional-quality product photos using things you already have or can get cheaply:
Lighting
Natural light is the best free light source available. Set up next to a large window on an overcast day. Overcast skies act as a giant diffuser, creating soft, even light without harsh shadows. If it's sunny, hang a white bedsheet over the window to diffuse the direct sunlight.
Position the product so the window light hits it from the side (not the front and not from behind). Side lighting creates gentle shadows that give the product depth and dimension without the harsh contrast of direct light. If the shadows on the opposite side are too dark, place a large piece of white cardboard there to bounce light back — this is called a fill card, and it's the cheapest lighting accessory in existence.
Background
For white backgrounds (required for Amazon, recommended for most platforms), you have two options:
- Physical white background: A large sheet of white poster board or foam core, curved from the wall down to the table surface in a smooth arc (called a "sweep" or "infinity curve"). This creates a seamless white background with no visible horizon line.
- Digital background removal: Shoot on any clean, solid-colored background, then use our Background Remover to strip the background and replace it with pure white. This is often faster and more consistent than trying to get a physically perfect white background.
Camera
Any smartphone from the last three or four years will produce images with more than enough resolution for e-commerce. iPhone 13 or later, Samsung Galaxy S21 or later, Google Pixel 6 or later — all produce excellent product photos when properly lit.
Use the rear camera, not the selfie camera. Lock the focus and exposure by tap-and-holding on the product (on iPhone) or using pro mode (on Android). Avoid digital zoom — it degrades quality. If you need a closer shot, physically move the camera closer.
Shooting Techniques That Increase Sales
The Essential Shot List
For every product, you should capture at minimum:
- Hero shot: The main product image on a white background, showing the product from its most flattering angle. This is your primary listing image.
- Multiple angles: Front, back, side, top-down, three-quarter angle. Customers want to inspect the product from every direction.
- Detail shots: Close-ups of texture, stitching, labels, buttons, clasps, or any quality indicator. These build trust by showing you have nothing to hide.
- Scale reference: The product next to a common object (a coin, a hand, a ruler) or being held/worn by a person. Online shoppers consistently cite "I couldn't tell how big/small it was" as a reason for returns.
- Lifestyle shot: The product in use or in a styled setting. A candle on a cozy nightstand. A bag being carried through a city. A kitchen gadget on a countertop surrounded by ingredients. These photos help customers imagine owning and using the product.
- Packaging shot: If the product comes in attractive packaging (especially for gifts), show the unboxing experience.
Composition Tips
- Product should fill the frame. Leave a small margin of background around the edges, but the product should be the dominant element. Tiny products floating in vast white space look unprofessional.
- Use the rule of thirds. Place the product's most interesting feature at one of the intersections of a 3×3 grid overlay, not dead center. This creates more dynamic, visually interesting compositions.
- Maintain consistent height and angle across all products in your catalog. If one product is shot from above and another straight-on, your store looks disorganized.
- Keep props minimal. Lifestyle props should complement the product, not compete with it. The product is always the star; props are supporting cast.
One of the most impactful things you can do for your product photos is consistency. When every listing has the same lighting quality, the same background style, the same framing — your store immediately looks professional and trustworthy, even if each individual photo is merely "good."
Post-Processing: From Raw Photo to Listing-Ready
Shooting is only half the battle. Post-processing transforms a decent photo into a listing-ready image. Here's my workflow using free tools:
- Background removal: Upload to our Background Remover. The AI strips the background in seconds, giving you the product on a clean transparent background. Save as PNG to preserve transparency.
- Add white background: For Amazon's pure white requirement, open the transparent PNG and place it on a 2000×2000 pixel white canvas. Center the product so it fills about 85% of the frame.
- Color correction: If the lighting during shooting left the image with a color cast (too warm, too cool), adjust the white balance. The product should look as close to real life as possible — customers who receive a product that looks different from the listing photo leave negative reviews and request returns.
- Resize to platform specs: Use our Image Resizer to hit the exact dimensions required by your platform. For Amazon, 2000×2000 square. For Shopify, 2048×2048. For Etsy, 2000 pixels on the shortest side.
- Compress for web: Use our Image Compressor to reduce file size while maintaining sharpness. Aim for under 500 KB per image for fast page loads. Compress at 85-90% quality for JPEGs — the compression is invisible but the size reduction is significant.
Common Product Photography Mistakes
- Poor lighting: Dim, yellowish overhead kitchen lights make everything look cheap. Use natural window light or invest in a basic LED panel.
- Visible wrinkles or creases in fabric backgrounds: If using fabric as a background or for clothing flat-lays, iron or steam it first. Wrinkles look sloppy and unprofessional.
- Fingerprints and dust on products: Visible on glossy, reflective, or dark-colored products. Wipe everything with a microfiber cloth before shooting.
- Inconsistent white balance: If some photos look warm (yellowish) and others look cool (bluish), the customer won't know what color the product actually is. Consistent white balance builds trust.
- Low resolution: Images under 1000 pixels won't support zoom functionality on most marketplaces. Amazon specifically requires 1000+ pixels for the zoom feature, and listings without zoom have measurably lower conversion rates.
- Over-editing: Heavy filters, extreme saturation, and artificial sharpening might make the photo look punchy on your phone but create unrealistic expectations. When the customer receives the product and it doesn't match the edited photo, you get returns and negative reviews.
Product photography is one of those skills that has an outsized return on investment. Every hour you spend learning to take better product photos translates directly into higher conversion rates, fewer returns, and more revenue. The equipment is minimal — a smartphone, a window, and a piece of white cardboard. The techniques are learnable in an afternoon. And the results are the difference between a store that sells and a store that sits.
Process Your Product Photos for Free
Remove backgrounds, resize to marketplace specs, and compress for fast loading — all in seconds with our free image tools.
Remove Product Backgrounds →