Last year, I needed a new passport photo. The logical thing would have been to walk into the nearest pharmacy, sit on that uncomfortable stool, blink at the wrong moment three times, and pay fifteen dollars for two tiny prints that made me look like a sleep-deprived raccoon. Instead, I stood in front of a plain white wall in my living room, had my wife take a photo with her phone, and used a couple of free online tools to crop, resize, and remove the background until I had a photo that was fully compliant with government requirements. Total cost: zero. Total time: about eight minutes.
If you've ever been frustrated by overpriced passport photo services or the general inconvenience of getting ID photos taken, this guide is for you. I'm going to walk you through exactly how to take a proper passport or ID photo at home, process it to meet official specifications, and print it yourself — all without spending a single penny on special software or photo services.
Why Most People Overpay for Passport Photos
There's a weirdly persistent belief that passport and ID photos need to be taken by a "professional" or at a designated photo center. Walk into any Walgreens, CVS, or post office and they'll charge you anywhere from twelve to twenty dollars for a set of two prints. Some specialty passport photo services charge even more — I've seen kiosks in airports asking thirty-five dollars for a single set.
Here's the thing most people don't realize: there's nothing technically special about what these services do. They take a photo of you against a white background with a basic camera, crop it to the required dimensions, and print it on standard glossy photo paper. The camera on your smartphone in 2026 is almost certainly better than whatever camera they're using behind the counter. And the cropping and resizing? That's literally something a free browser tool can do in ten seconds.
The reason these services get away with charging what they do is because the specifications seem intimidating. Government agencies publish these long, detailed requirement documents — head size must be between one inch and one and three-eighths inches, eyes must be in the center third of the frame, background must be plain white, no shadows on the face or behind the head, glasses prohibited since 2016... It feels complicated. But once you understand the requirements (which I'll break down below), meeting them is actually quite straightforward.
Official Requirements: What Every Country Generally Needs
While specific dimensions vary by country, the vast majority of passport and ID photo requirements share these common standards. I'll use U.S. passport specifications as the baseline since they're among the most widely referenced, but the general principles apply almost universally.
Size and Dimensions
U.S. passport photos must be 2 inches by 2 inches (51mm x 51mm). Indian passport photos follow the same 2x2 inch standard. UK passport photos are slightly different at 35mm x 45mm. European Schengen countries generally use 35mm x 45mm as well. Canadian passport photos are 50mm x 70mm. Whatever your country requires, you can easily resize your photo to exact pixel dimensions using a free online resizer — just convert the physical measurements to pixels based on the print resolution (300 DPI is standard, so a 2x2 inch photo would be 600 x 600 pixels).
Background
Nearly every country requires a plain white or off-white background with no patterns, textures, or shadows. This is probably the single most important technical requirement, and it's also the one that's easiest to mess up if you're taking photos at home. The good news is that even if your background isn't perfectly white, AI background removal tools can fix that in seconds — but more on that later.
Lighting and Shadows
The photo must show your face clearly and evenly illuminated. There should be no harsh shadows on your face or behind your head. Natural daylight from a large window is actually ideal for this — it produces soft, even light that minimizes shadows. Avoid direct sunlight, overhead room lights, and camera flash, all of which can create problematic shadows.
Expression and Positioning
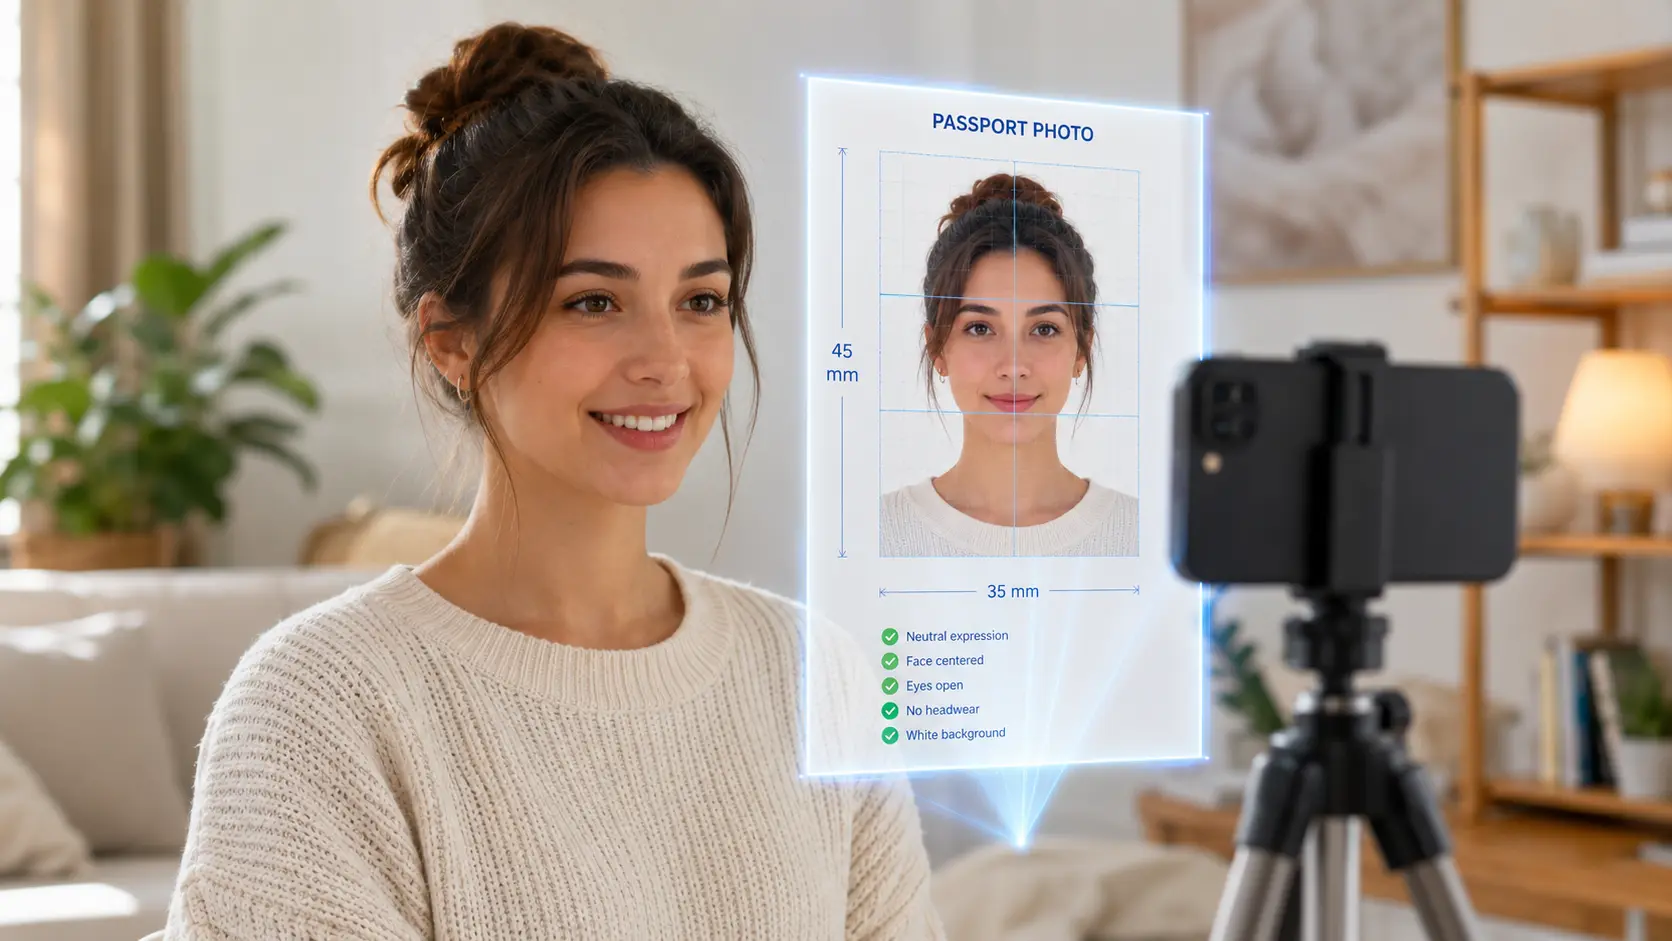
Look directly at the camera with a neutral expression. Both eyes must be open and clearly visible. Your head should be centered in the frame, not tilted or rotated. Mouth closed, no smiling (some countries allow a natural, closed-mouth smile, but a neutral expression is universally accepted). Remove glasses, hats, and head coverings unless worn for religious reasons.
Step-by-Step: Taking the Perfect Photo at Home
Alright, let's get practical. Here's exactly what I do when I need a passport-compliant photo, and it works every single time.
Find your background. Stand in front of a plain white or light-colored wall. If you don't have a white wall, a large piece of white poster board or even a white bedsheet hung on a wall works perfectly. The key is that it needs to be smooth, uniform, and shadow-free. Stand about two to three feet away from the wall to minimize any shadows your body casts.
Set up your lighting. The best lighting for passport photos is natural daylight coming from a window. Face the window so the light falls evenly on your face. If you're shooting on a cloudy day or in the evening, two desk lamps placed at 45-degree angles on either side of you will do the trick. The goal is flat, even illumination with no strong directional shadows.
Position your camera. Have someone hold the phone at your eye level, about four feet away. If you're alone, use a tripod or prop the phone on a shelf at eye height and use the self-timer. Keep the camera at arm's length or farther — shooting too close causes perspective distortion that makes your nose look larger and your ears look smaller, which can cause rejection.
Frame the shot. You want to capture from about mid-chest upward, with a few inches of space above your head. Don't worry about getting the framing perfect in-camera — you'll crop to the exact specifications later. It's much better to capture too much of the scene than too little, because you can always crop in but you can't add pixels that aren't there.
Take multiple photos. Don't just snap one and call it done. Take ten or fifteen photos, making slight adjustments to your head angle, expression, and position between each one. Check each photo on your phone's screen immediately — zoom in on the face to make sure focus is sharp and both eyes are clearly visible. Pick the best one and move on to processing.
Processing Your Photo: The Three-Tool Workflow
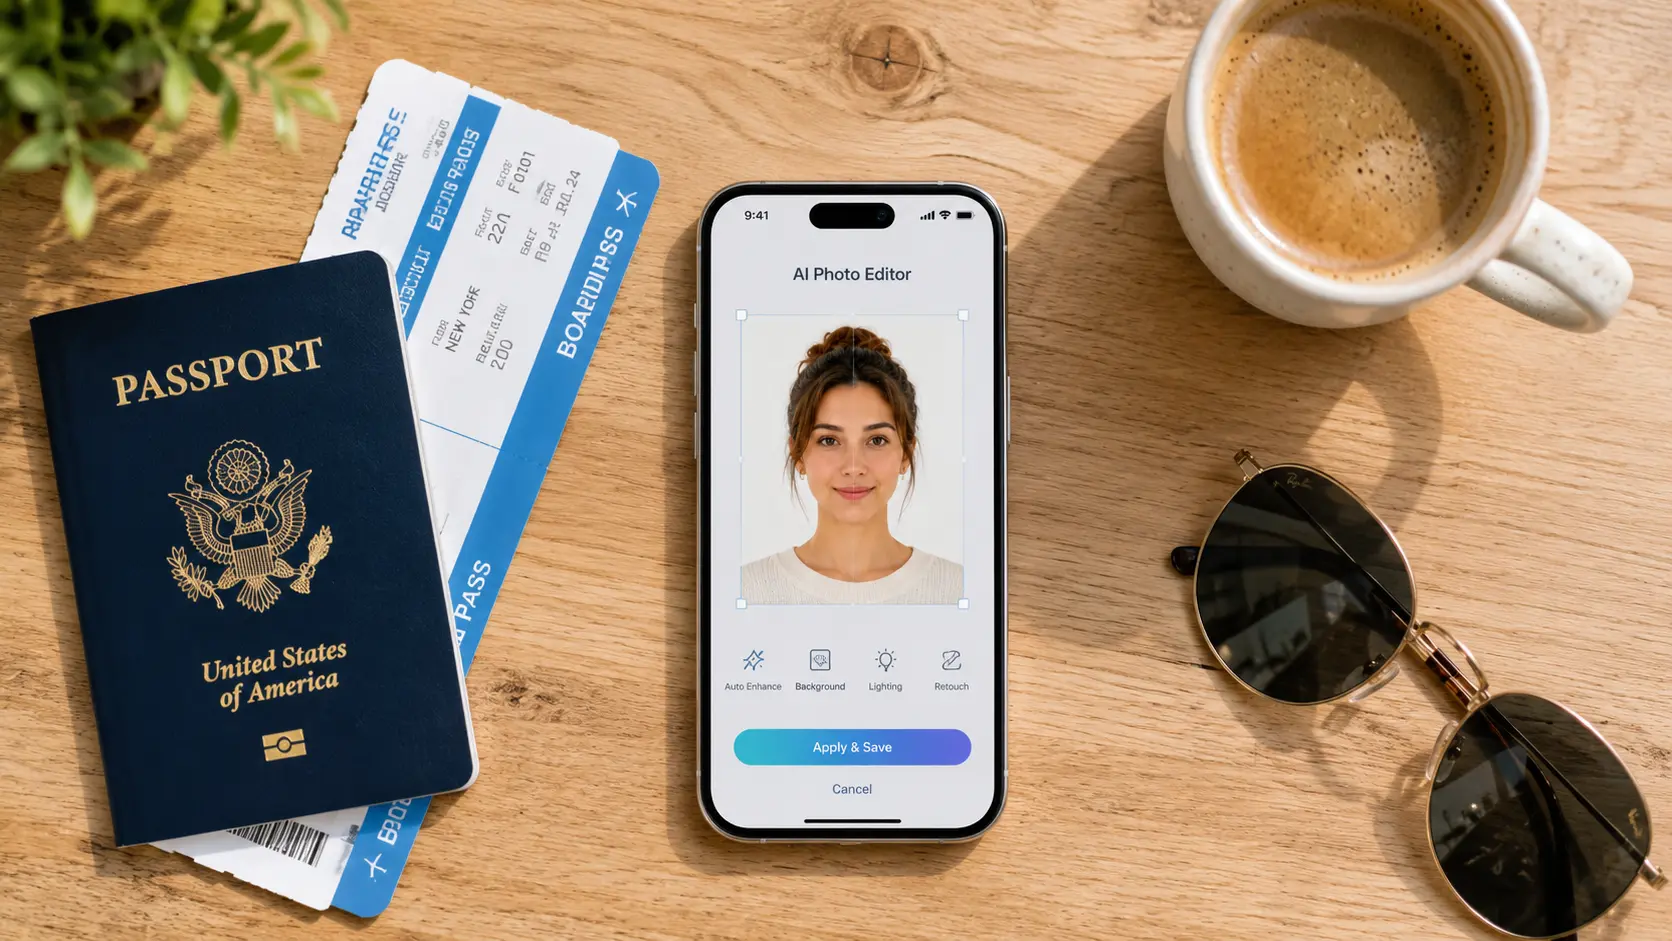
Once you have a good raw photo, you need to do three things to make it passport-compliant: remove the background (if it's not perfectly white), crop to the correct aspect ratio, and resize to the exact required dimensions. Here's how I do it using free tools.
Step 1: Remove the Background
Even if you shot against a white wall, chances are the background isn't perfectly uniform. There might be a slight color cast, a power outlet peeking into the frame, or a subtle shadow. The easiest fix is to use an AI background remover to strip the background entirely and replace it with pure white.
Our Background Remover tool handles this in seconds. Upload your photo, select "White" as the background option, and the AI will isolate your head and shoulders and place them on a clean white background. The edge detection is especially good with hair, which is usually the trickiest part of any manual cutout job.
Step 2: Crop to the Correct Ratio
Next, you need to crop the image so that your head is positioned correctly within the frame. For a U.S. 2x2 inch passport photo, your head (measured from the bottom of your chin to the top of your hair) should take up between 50 and 69 percent of the photo's height. Your eyes should be roughly in the center of the frame vertically.
Use our Image Cropping tool to set a 1:1 aspect ratio (for square passport photos) or a custom ratio for non-square formats. Drag the crop box until your head sizing looks right — it doesn't need to be millimeter-perfect at this stage, but it should be close.
Step 3: Resize to Exact Dimensions
Finally, resize the cropped image to the exact pixel dimensions required by your country. For a 2x2 inch photo at 300 DPI print resolution, that's 600 x 600 pixels. For a UK 35x45mm photo at 300 DPI, it's 413 x 531 pixels.
Our Image Resizer lets you set exact width and height in pixels. Enter your target dimensions, make sure "Maintain Aspect Ratio" is unchecked (since you've already cropped to the correct ratio), and download the result. Your passport photo is now ready to print.
Printing Your Photos
To print your passport photos, you have a couple of options. The cheapest is to arrange multiple copies on a standard 4x6 inch print layout — you can fit two 2x2 inch passport photos on a single 4x6 print with room to spare. Print at your local pharmacy or drugstore using their self-service photo kiosk for about thirty to fifty cents, compared to the twelve to twenty dollars they'd charge to take and print the photos for you.
Alternatively, if you have a decent photo printer at home, use glossy photo paper and print at the highest quality setting (300 DPI or higher). Make sure to select "actual size" in your print settings — don't let the printer scale the image to fit the paper, or your dimensions will be wrong.
Common Mistakes That Get Photos Rejected
Based on what I've seen and heard from people who've had their passport photos rejected, here are the most common reasons and how to avoid them:
- Shadows on the background. Stand farther from the wall and use diffused lighting. Or just remove and replace the background digitally — it's the easiest fix.
- Head too large or too small. Follow the measurement guidelines for your country and crop carefully. When in doubt, err slightly on the side of making the head a bit smaller rather than larger.
- Red-eye from camera flash. Don't use flash. Use natural daylight or continuous lighting instead.
- Wearing glasses. Since 2016, the U.S. State Department prohibits glasses in passport photos. Most other countries have followed suit. Just take them off for the photo.
- Photo is too dark or too bright. Review the photo on your phone and adjust brightness if needed before processing. Most phones' built-in photo editors can handle basic brightness and contrast adjustments.
- Low resolution or blurry. Use your phone's main camera (not the selfie camera, which is typically lower resolution) and make sure focus is locked on your face before shooting.
Taking your own passport photos might seem like a hassle the first time, but once you've done it once, you'll never go back to paying fifteen dollars at the pharmacy. The whole process — shooting, processing, and printing — takes under fifteen minutes and costs practically nothing. And honestly, you'll probably end up with a better photo than whatever the bored pharmacy employee would have taken anyway.
Process Your Passport Photo Now
Use our free Background Remover and Image Resizer to create perfect, compliant passport photos in minutes.
Remove Background Free →